Location: Usually parks and planted bushes around carparks
Months: May to June (Flowers)
Edible Parts: Flowers (and Rosehips in autumn)
I certainly haven’t uploaded anything on this blog for a while and I will have to grab you a good Rosa Canina picture later on I’m afraid!
Rosa Canina is a wild english rose known commonly as Dog Rose. It has pale pink flowers and red oval shaped rosehips later on. The rose petals are edible as soon as they bloom which is around May, pick blooms that fall easily off the plant as these are already pollinated anyway.
You can make rose petals into a variety of different treats such as rose Turkish Delight, Rose Herbal Tea, Crystalise the petals for cakes, rose syrup, rose water and more. They are also commonly used in cosmetics such as rose creams for the skin.
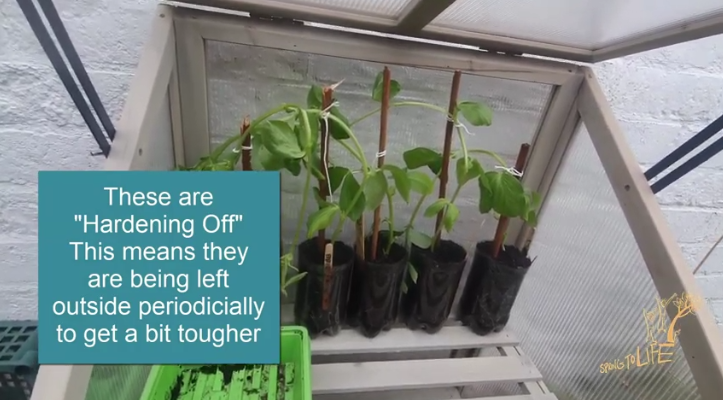
It’s time to plant broad been seeds if you haven’t done so already. You cna plant them in pots indoors before you transplant themoutside, or you can get them in the ground right away (at the risk of any frosts we may still have).
Check out this video from Mother Gardens about the entire process here:
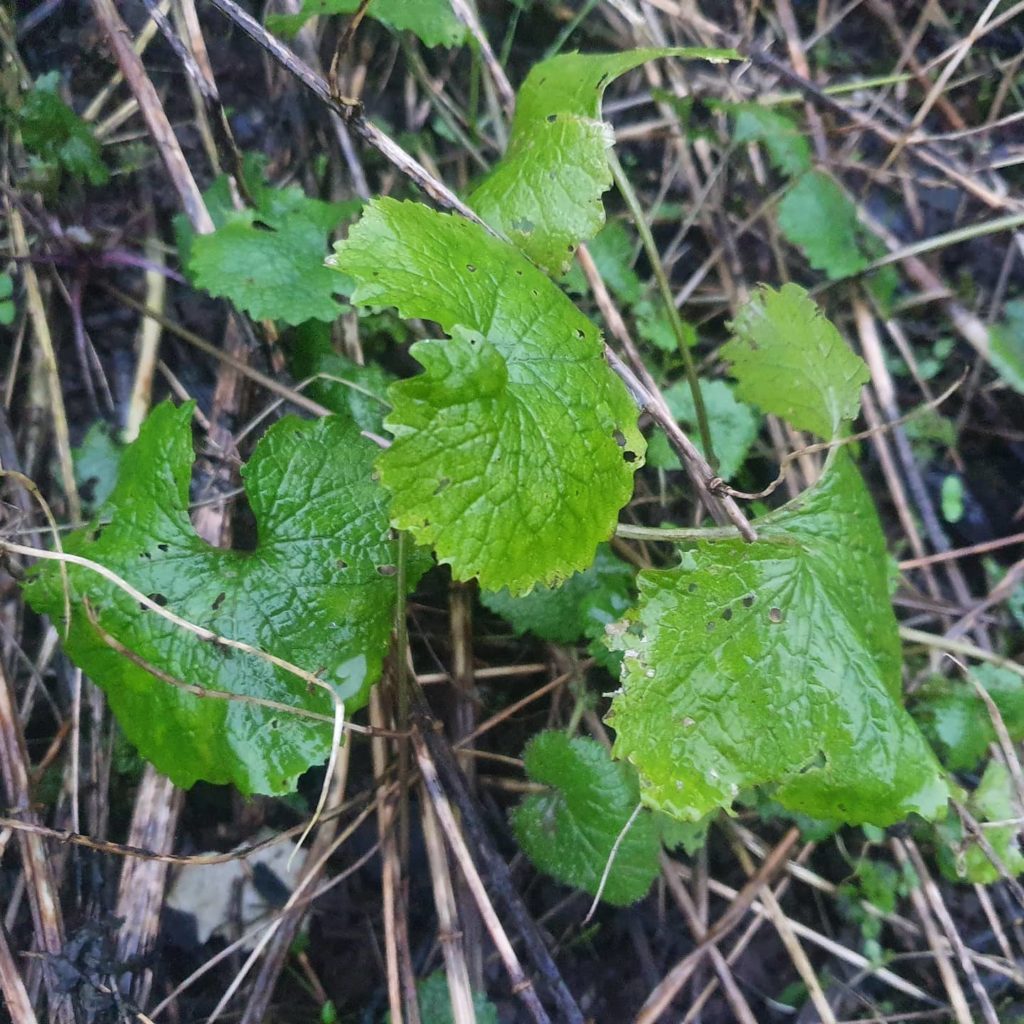
Jack by the hedge, otherwise known as Hedge Garlic or sometimes even just wild garlic – is actually not a garlic at all!
Name: Alliaria Petiolata
Location: Anywhere, usually grass verges, woodlands and tucked alongside hedges
Months: March to September
Edible Parts: Leaves, Flowers, Seeds
More Information
Hedge Garlic is a member of the mustard family – hence it’s familiar flavour and smell that reminds us of garlics. There are actually quite a few plants that could be called under the common name ‘wild garlic’ so it’s important to be able to differentiate between them. Hedge garlic is quite distinctive with its beautifully shaped lobed leaves. It’s a more delicate flavour than actual alliums provide so it’s more suitable for delicate touches of garlic/mustard flavouring such as in salads eaten fresh.
Sometimes winter can get us a bit low, we are still waiting for all the yummy spring greens to pop up and those of us without greenhouses are waiting for planting the veggies too.
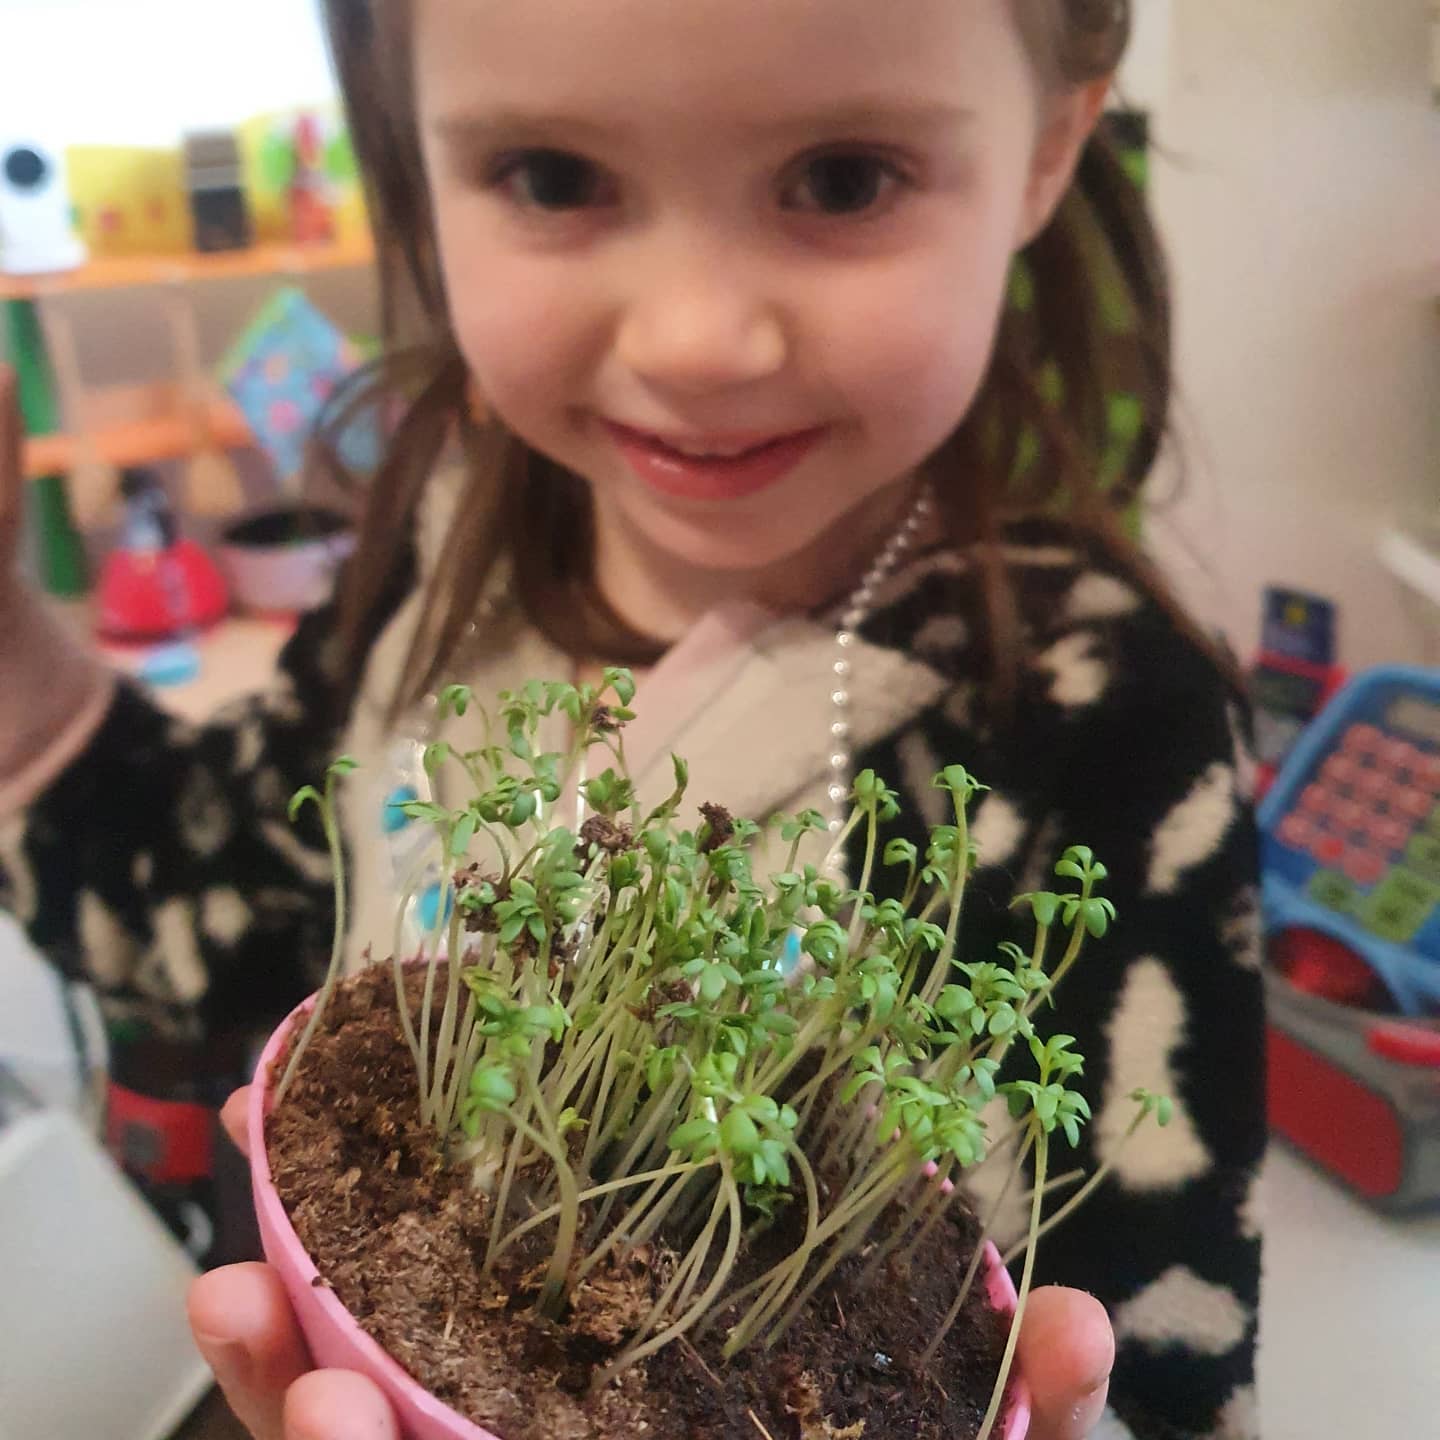
But there are still plenty of things you can grow on the windowsill and get started eating right away! Microgreens is one great way of doing this. Microgreens are just edible plants that we grow and eat before they get too big. Usually less than an inch high. This means you have to sow alot of seeds to get a decent meal out of them, but they are packed full of nutrients because the plant hasn’t spent them all yet.
You can grow microgreen sin almost anything, a bit of soil in a tray, wet tissue paper or a special hydroponic microgreen tray. They have a very quick turnaround time, usually only a few weeks and you see results almost right away so it’s also a fantastic way of getting the kids involved in the growing process and keeping them engaged with it.
They are also usually packed full of flavour too so be prepared for some extra flavourful tasty and nutritous greens to kick start your year.
The key to low cost successful microgreens is the seeds you buy. You do NOT have to buy thso especial packs of microgreen seeds you see in garden centres. This will end up costing you £2 for a single tray of microgreens and it’s not going to win anyone over.
Bulk Purchasing
Some microgreens like Cress can be bought in bulk online for much cheaper. You can get 1kg bag for £10 and that will keep you in microgreens year round.
Using Food Seeds
Some kitchen spices are seeds like mustard, coriander, fennel, or you may wish to use sunflower seeds or chia seeds. These can all be used to create microgreens and they are even cheaper than microgreen seeds like cress. Buy them in bulk to save even more money. Brown mustard seeds for example you can get a 1kg bag for as little as £5. All you need to do is check that they are non-irradiated. Most organic brands will use non iradiated seeds.
Saving Seeds
You can also save seeds from your own garden or allotment. If you have a fennel plant in your garden, you’ll find even one single fennel gherb can produce plenty of fennel seeds each year and these can be used to produce tasty microgreens at no additional cost. This is by far the cheapest option!
Using old Seeds
Some people don’t like using seeds that are too old and buy new packets every year. While this isnt necessary for all seeds, it does mean that you or your friend may have always got older seeds laying around ‘just in case’ that never get used up. Broccoli, cabbage, shard, beetroot, chive, basil, kale are all seeds that dont mind being left a few years and do great as microgreens. Have a clear out of your seed box and gather your ‘odds and ends’ together and you’ll be suprised what you come up with.
Buy a Ready Made Kit
You could also buy one of our ready made kits to get you started. This is a good choice if you aren’t confident with what you are doing yet or you are after something designed specially for the kids to peak thier interest. Once you have used the seeds up in the kit you can use one of the above options to keep the fun going! We’ve kept the cost of our microgreen kit low and affordable and purchases of the kit help fund our community projects in Stirchley so you’ll be helping out our local community too.
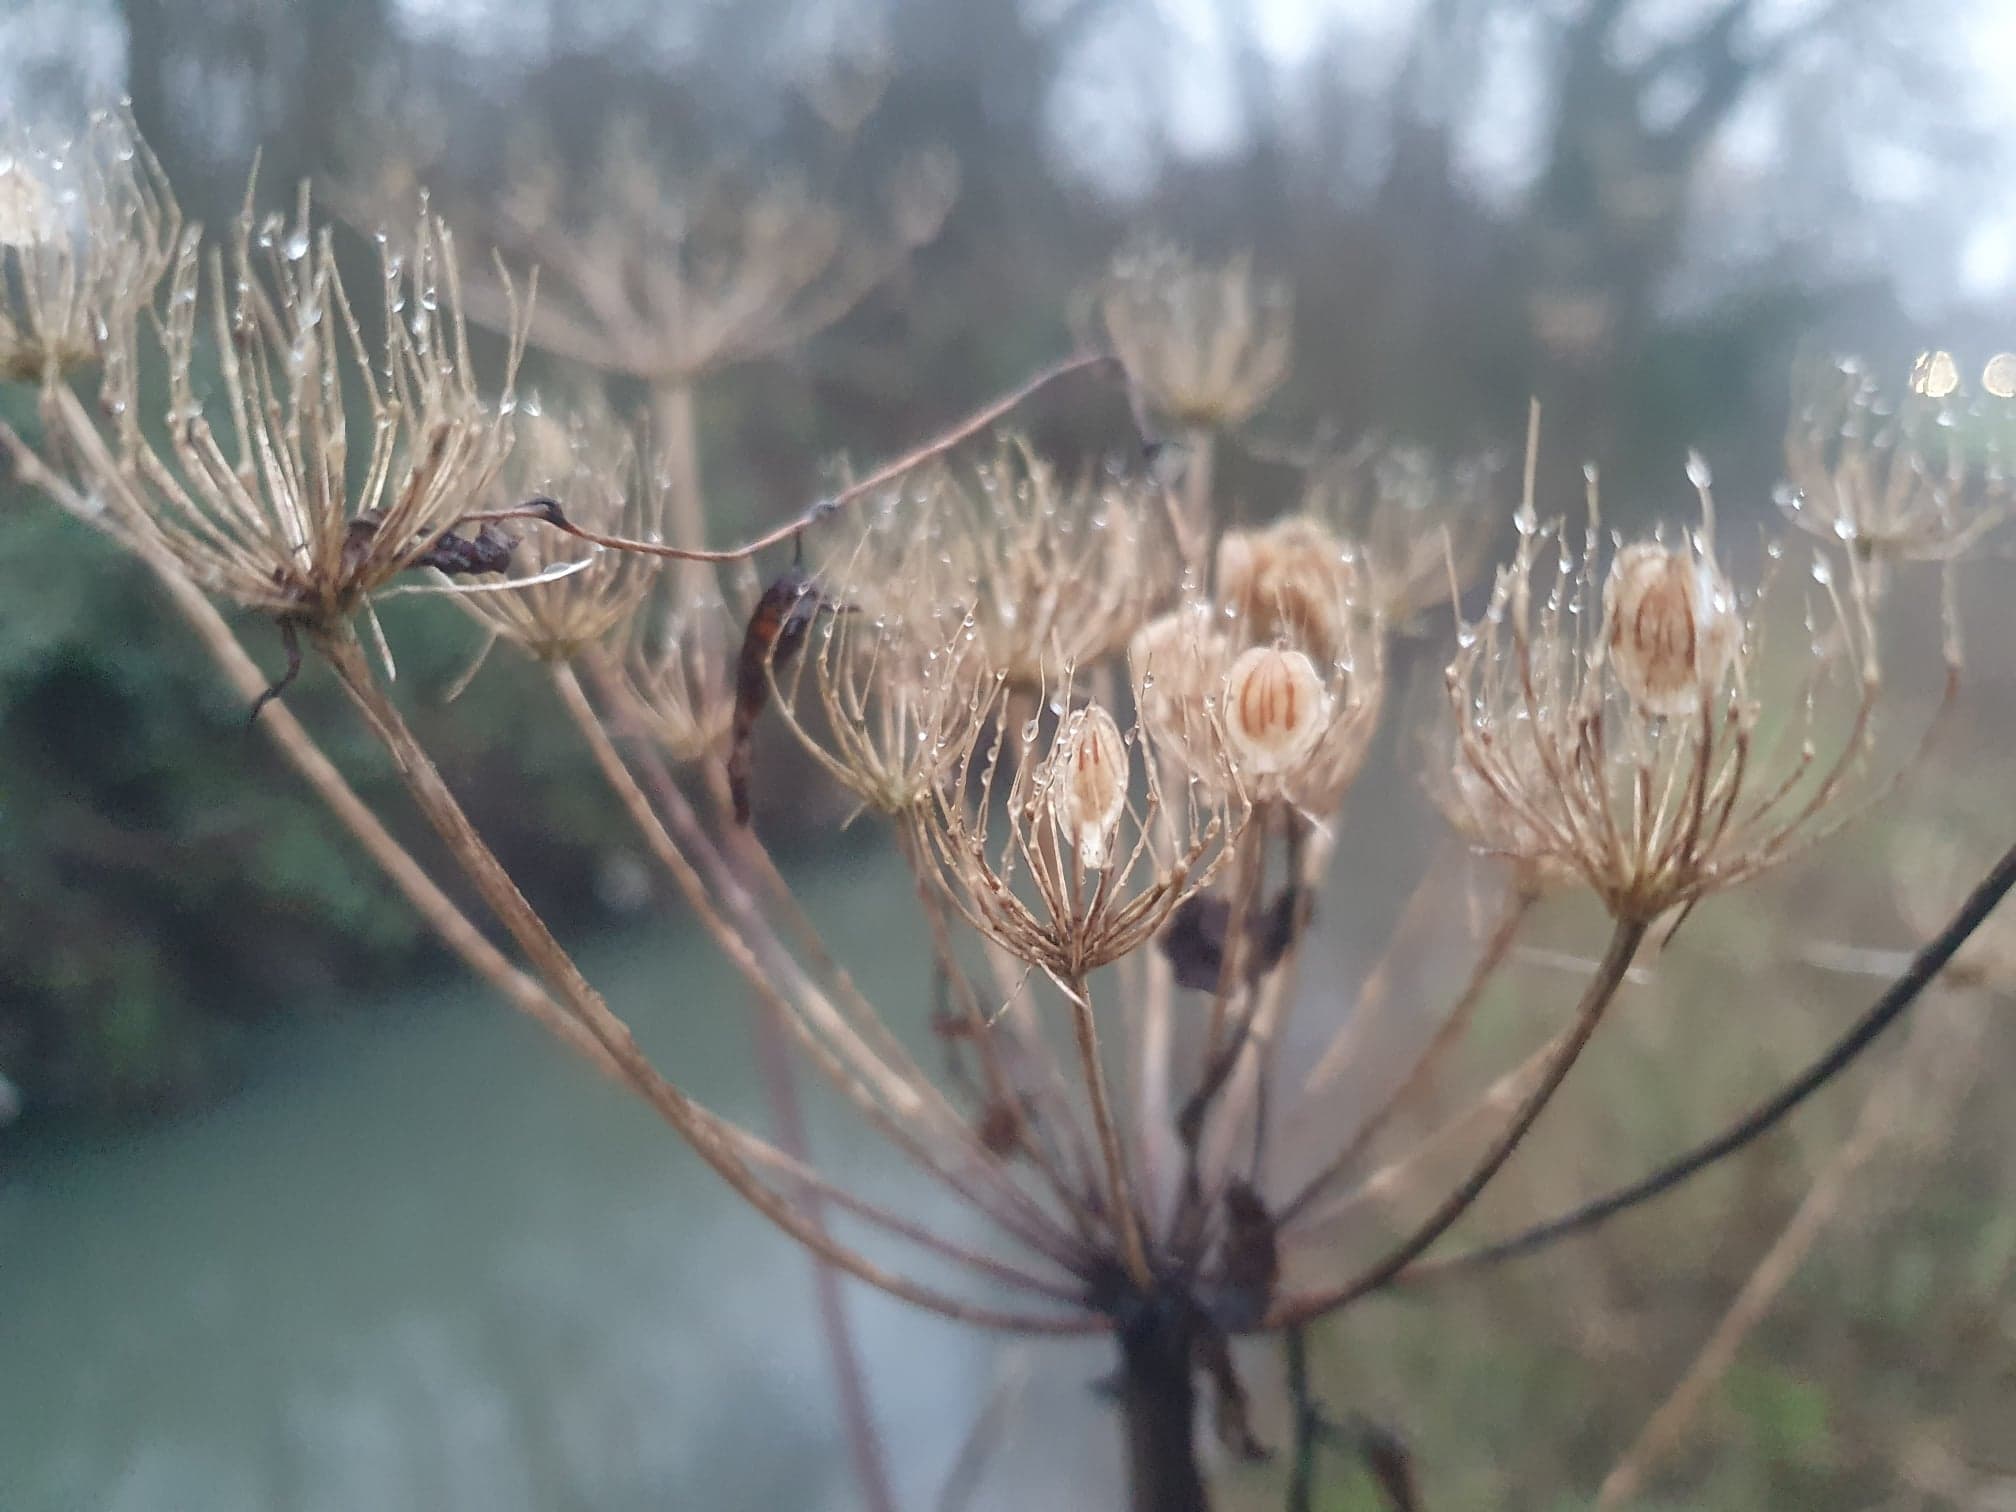
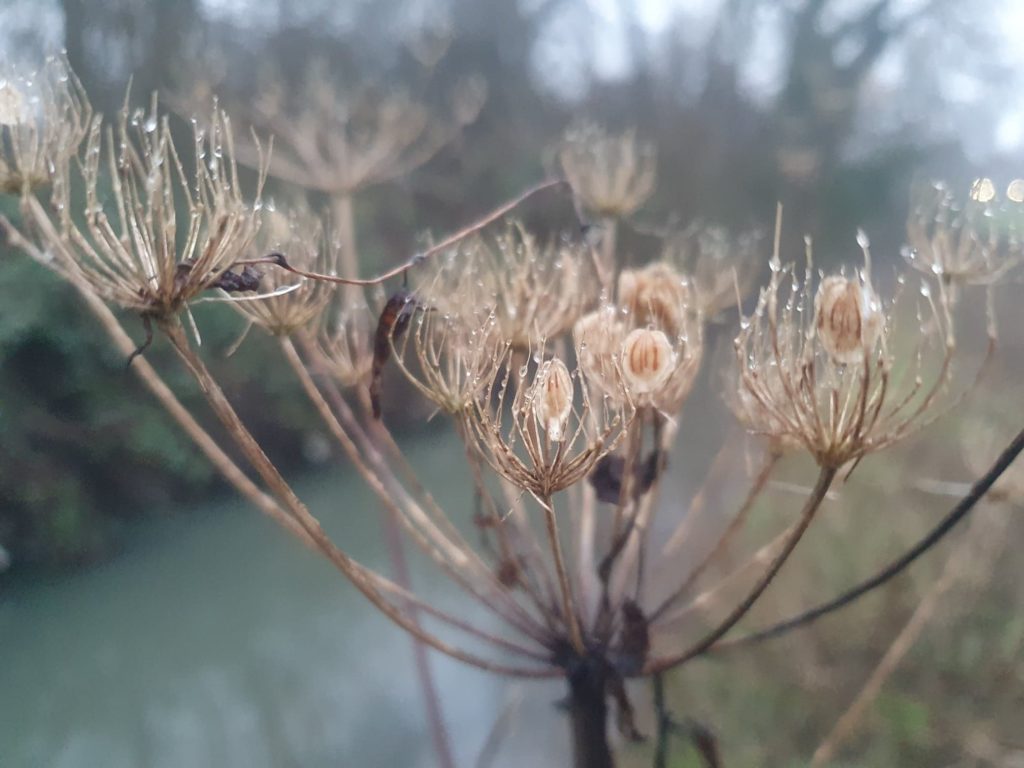
Even though it is the dead of winter there are still plenty of things to find if you go foraging out and about. Common hogweed is often found along rivers so in Birmingham UK there is a good chance you can find this plant. Right now, even though the hogweed plants have long since been dead, thier seeds are remaining. They cling on to the dead plant material and are easy to spot as they tower above everything else right now. There wont be as many seeds as there were at the end of the previous year when they just ripened, but they will be there still and with this little wild spice – a little goes a long way!
These seeds are a great addition to your wild kitchen spice cupboard. They taste like a combination of cardamon and orange peel and have a very strong kick to them. I often encourage people to taste these as they go on our walks – and caution them that they only need one seed to try out. It’s powerful stuff!
Because of this, you can harvest very little and it will last you a long time. Which is just as well because there is SO much you can do with these! Thier unqiue flavour lends them to a variety of recipes including making your own gin compounds, herbal teas (pair with fennel), spiced biscuits, spiced cakes, pickling flavouring and more. A quick google will give you a wealth of ideas to choose from.
Common hogweed should be roughly as tall as you, and the seeds are flat discs of paper with two little seeds showing on one side and four on the other, like little brown lines.
This little herb is often overlooked but it’s so much fun I highlight at every chance I get.
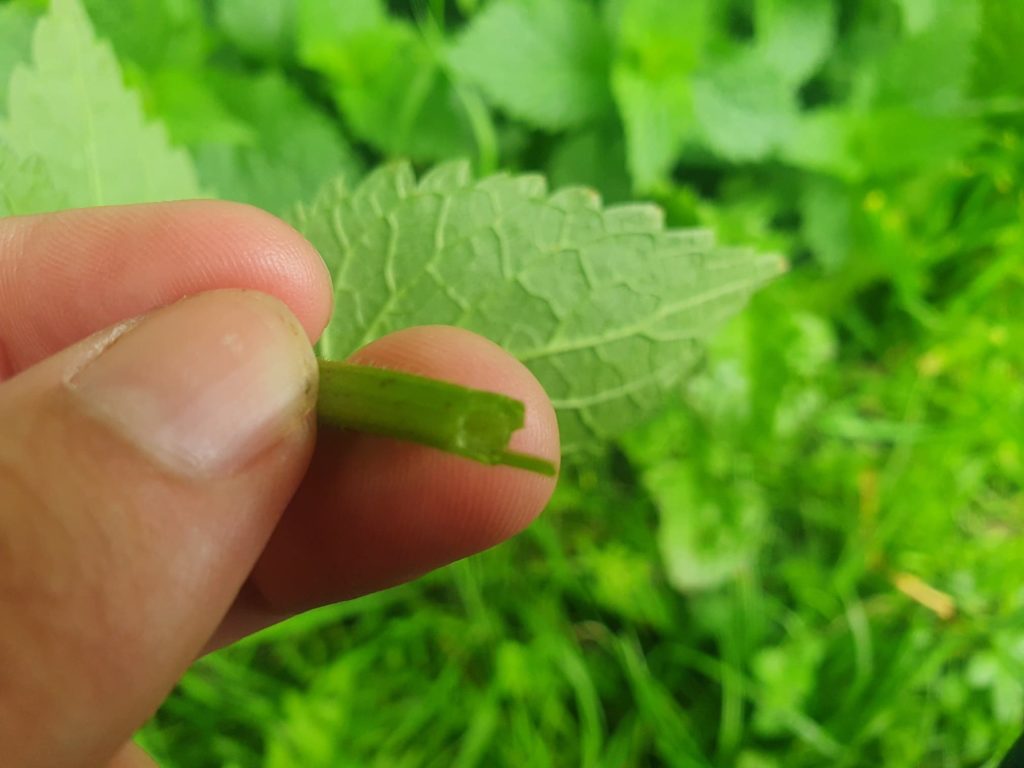
Lamium album is actually a member of the mint family (Lamium). We can tell this, because of it’s stem. Yes, have a closer look at it’s stem next time you see it. Feel it between your fingers and you will notice it is flat and square shaped! We can see this if we cut the stem too.
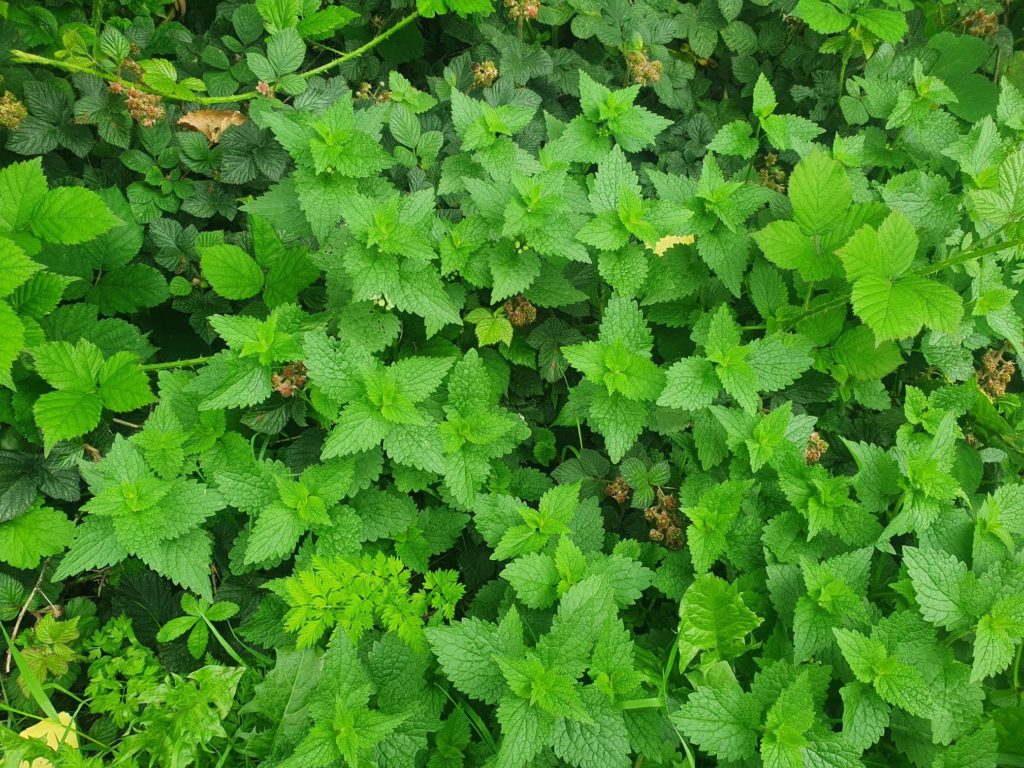
But many of us go by the humble white dead nettle without a second thought, because it looks very similar to common stinging nettles and often grows amoungst them. In fact, many think they are one and the same! Luckily, mixing these two plants up won’t kill you, but it goes to show how much identification work is really needed to stay safe and accurate.
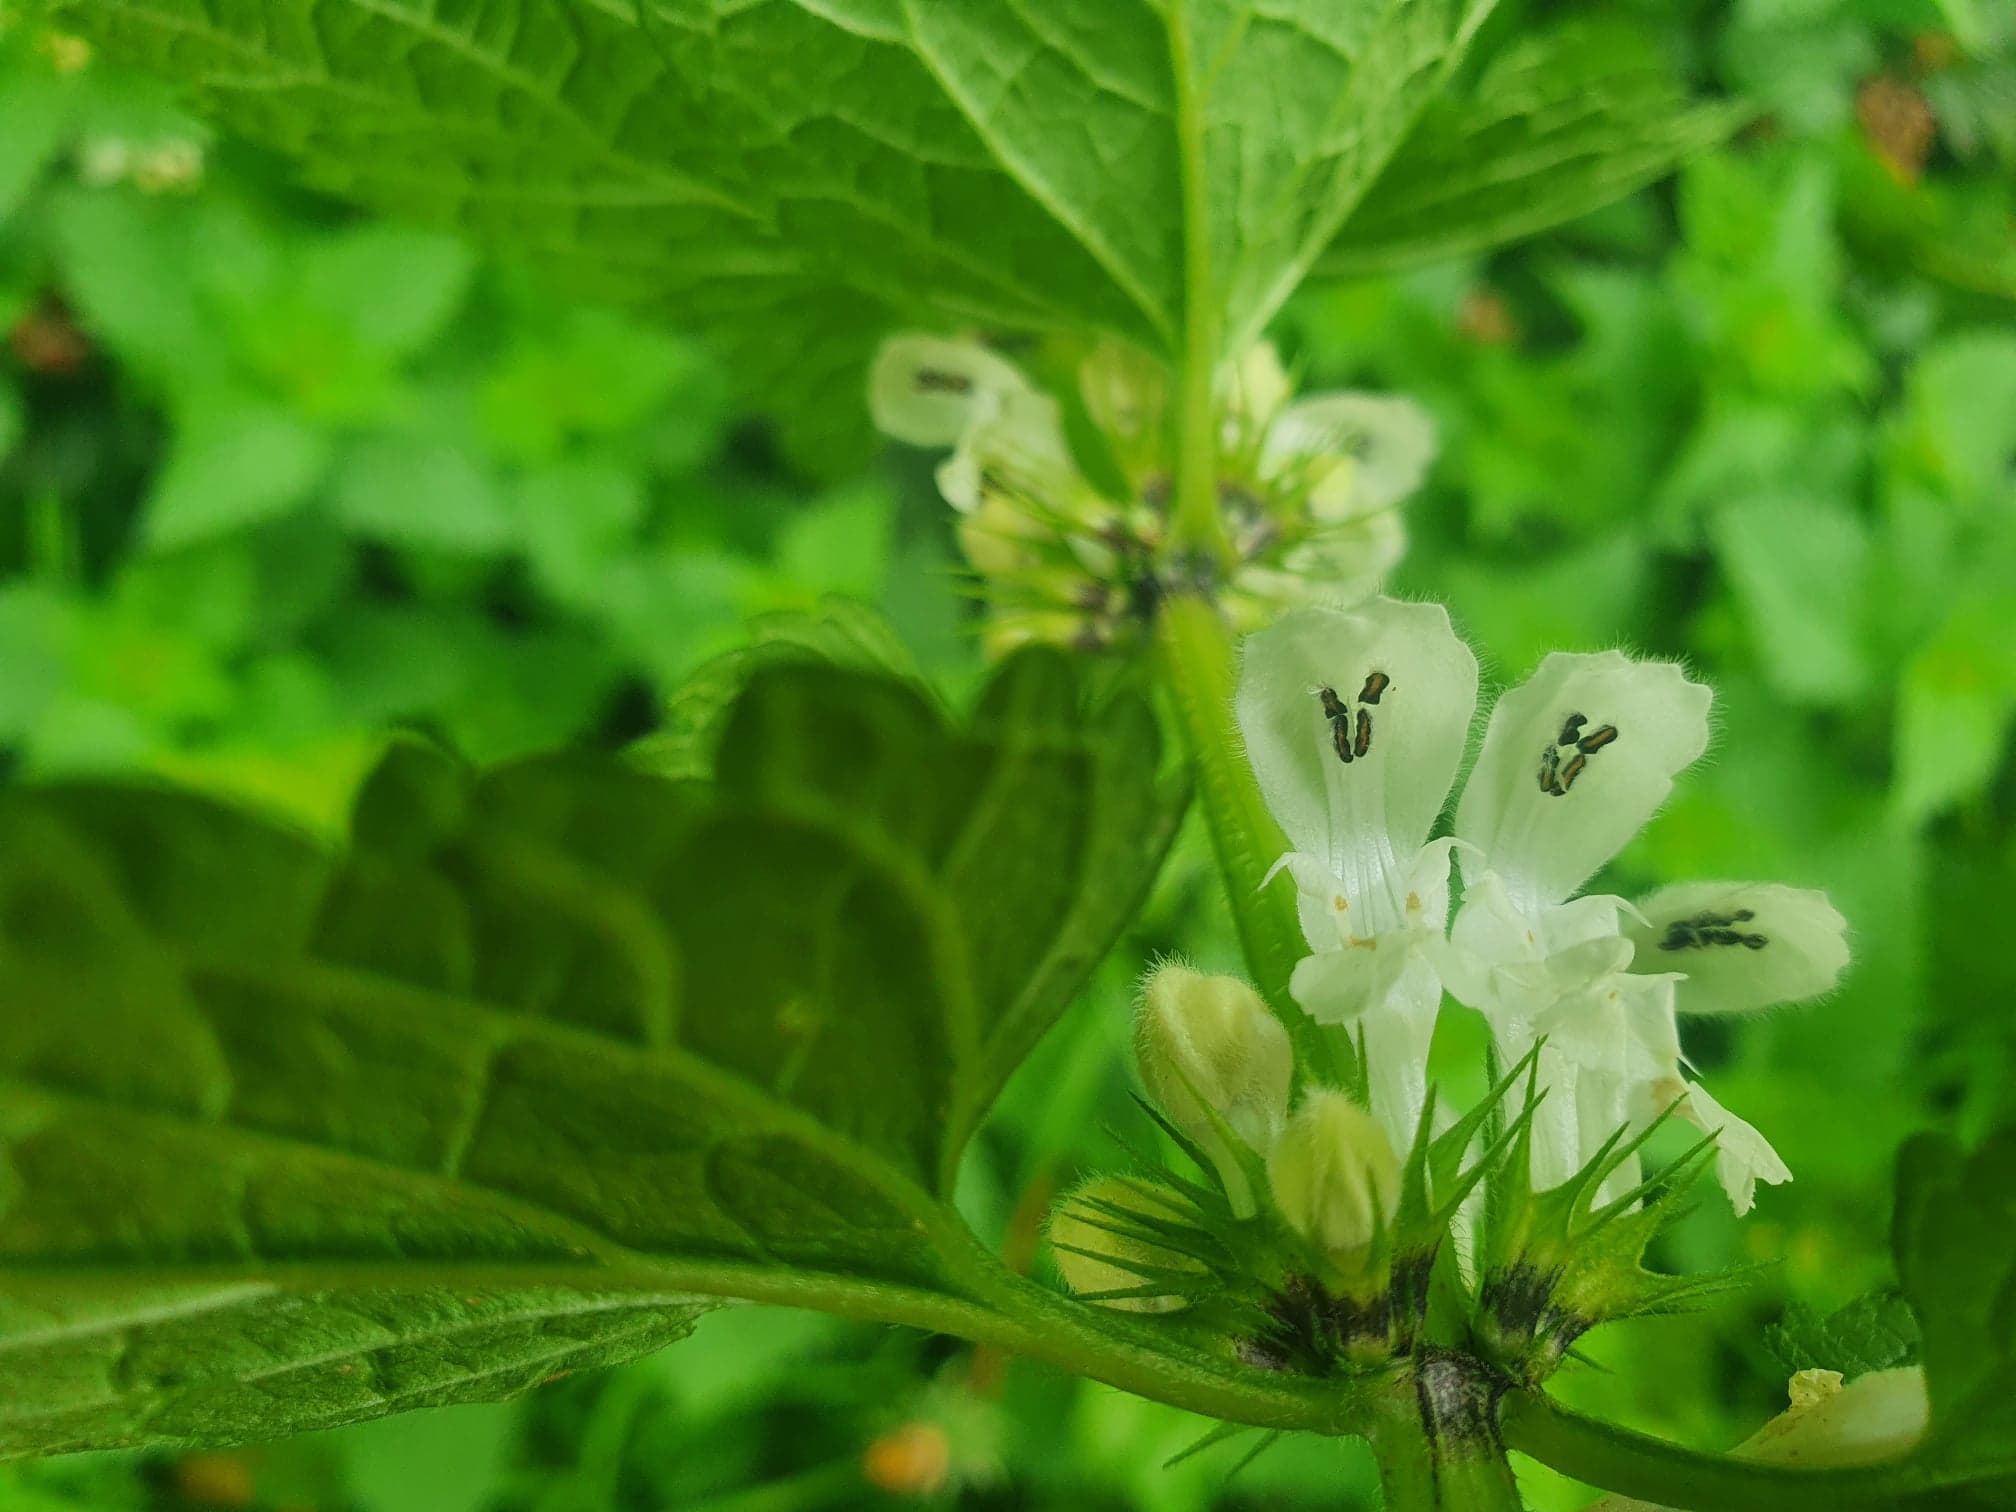
Unlike nettles, dead nettles do not sting you and they have large prominent orchid like flowers you can easily see at a glance.
Unlike Mint, deadnettles don’t taste of anything nice and minty. I often describe the taste as simply “green”. But as a filler for stir fry greens or other mixes they do all right.
It’s these lovely little white flowers that we are after in particular. If you are careful, and pick the flower from as close to the plant as possible, you get a good amount of the nectar inside there. These flowers (I kid you not) taste like mushrooms. First they taste of not much in particular, and then if you picked them carefully enough, you get an after taste develop that is dinstinctly mushroomy. This makes them a brilliant savoury garnish to really amp up your cooking presentation game. My go to dish for these beauties is mushroom risotto. PERFECT.
Location: Anywhere, usually grass verges, pathcracks, fields and park pathways
Months: All year round
Edible Parts: Leaves, Seeds
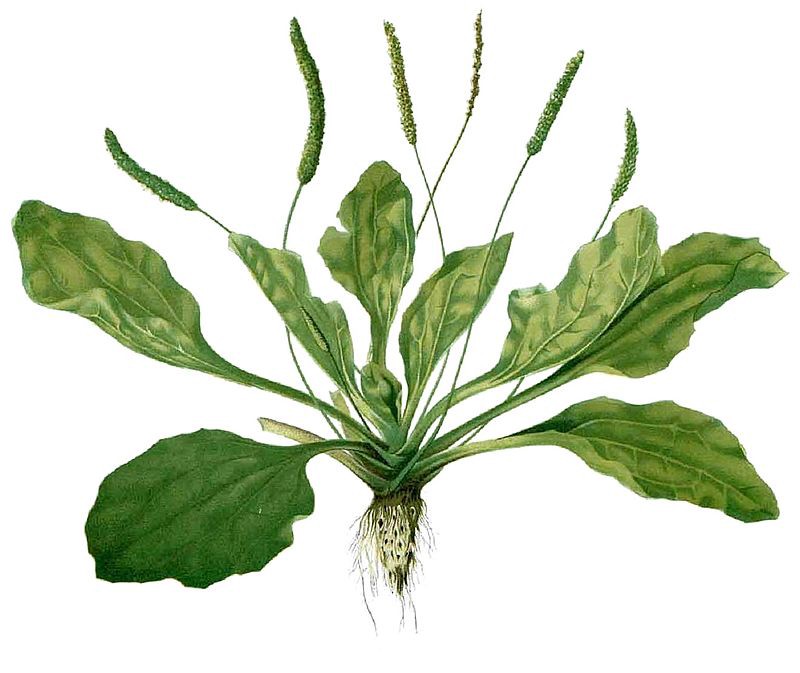
Placeholder image of plantain
More Information
Plantain is a common wild edible found all over the UK. The three main types in the UK are Major, Media and Lanceolata but coastal regions will also discover maritima and ponds/lakes may be blessed with Aquata. Plantain has trade mark ‘ribs’ (hence the name ribwort) along the underside of the leaf which are the prominent veins of the leaf. they run parrallell along the leaf and do not intersect. When the leaf is pulled apart the stringy material inside the vein is revealed.
Plantain is not only edible (best eaten when young and fresh) but it is also used in herbal medicine as it is packed full of anti histamines. this makes it useful as herbal tea to treat hayfever or infused in oil to treat stings and other skin reactions – in particular nettle stings.
The seeds of plantain are highly nurtitious if you catch them at the right time of year.
How to Make a Plantain Oil Infusion (for topical use)
Collect your plantain leaves (any variety) and roughly chop.
Spread the leaves our on a tray and dry them out, Ideally you would use a dehydrator at 45 degrees or less for this task but if you do not have one then you can sun dry or use your oven on its lowest setting with the door ajar. Be careful not to burn the leaves (they will turn brown is overheated).
Once fully dried, stuff as many leaves as you can into a clean dry sterile jar. Then top up with olive oil (or another base food grade oil) and ensure the leaves are submerged and there are no air gaps.
Leave in a cool dark place for 3-6 months to infuse. Strain before use.
You can help to beat the winter blues by starting your growing projects early indoors. Even if you don’t have much space to play with, all you need is a windowsill and some creativity!
After Christmas and New Year it can feel like a bit of a long haul. We are all a bit tired, the main event is over with and there’s not much to forage yet. Its cold outside and all a bit grey and we don’t have much money to spend on new hobbies and interests. But it is the perfect time to start on those small growing projects indoors and remind ourselves that spring is just around the corner. There is something to look forward to afterall and it only takes a couple of weeks to start seeing results.
Staying connected to nature and the seasons helps us to stay grounded and positive. Even the humble Christmas tree is a symbol of evergreen life and a reminder that not everything is dead and life will begin anew in the spring once more.
To get started you just need a few seeds – they don’t even have to be from the garden centre. You can grow microgreens from many household spices and seeds such as coriander seeds, sunflower seeds, chia seeds and fennel. Chances are you have everything you need already. If you do need a helping hand however, you can buy one of our microgreen starter craft kits.
Then you just put some low nutrient or general purpose soil, or coir mix into the tray and sprinkle the seeds on top. Give them a good water to get them started and place on your windowsill. Each seeds takes a different amount of time to get srated, but generally they can range from 3-12 weeks to produce a good crop depending on the size of the seed and the size you wish to harvest at.
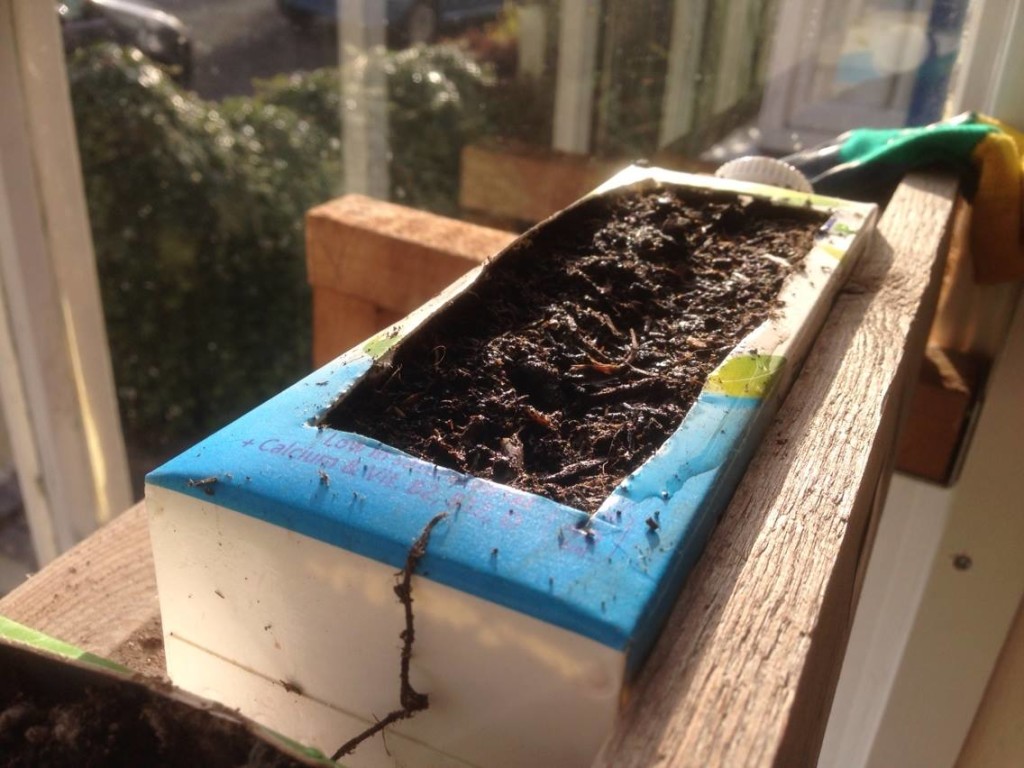
Growing pea shoots on the windowsill in a milk carton using whole dried peas from the supermarket.
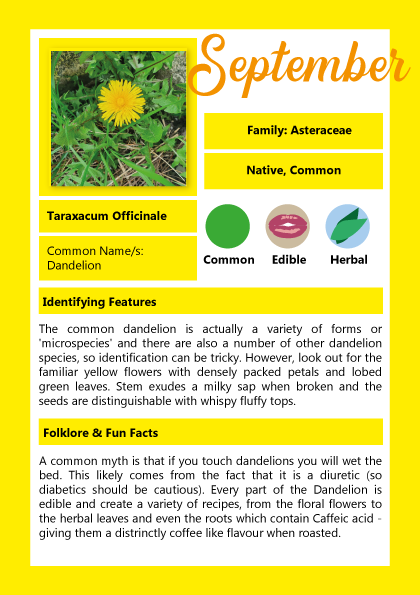
Here is the digital version of our September plant highlight for 2020 which was Common Dandelion!
This is exclusive member only content so if you can see this, it’s because you are a valued member of Sustainable Life Voluntary Organisation – so thank you!
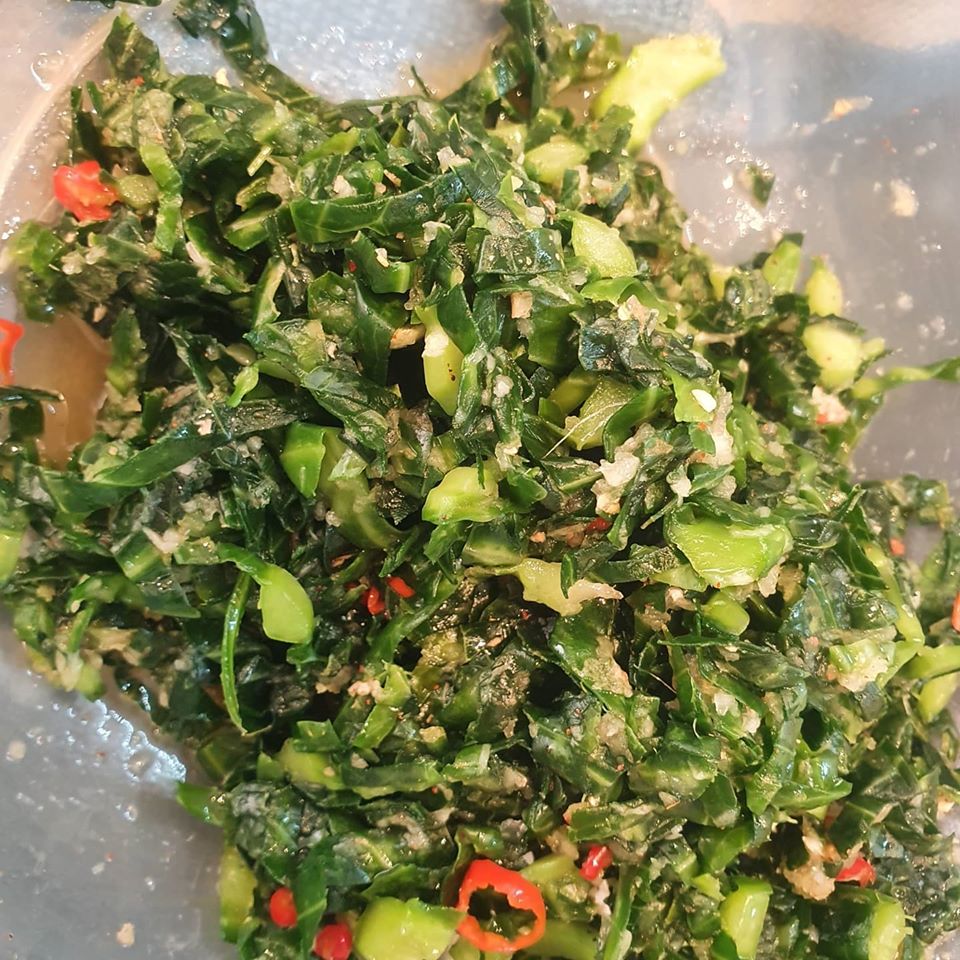
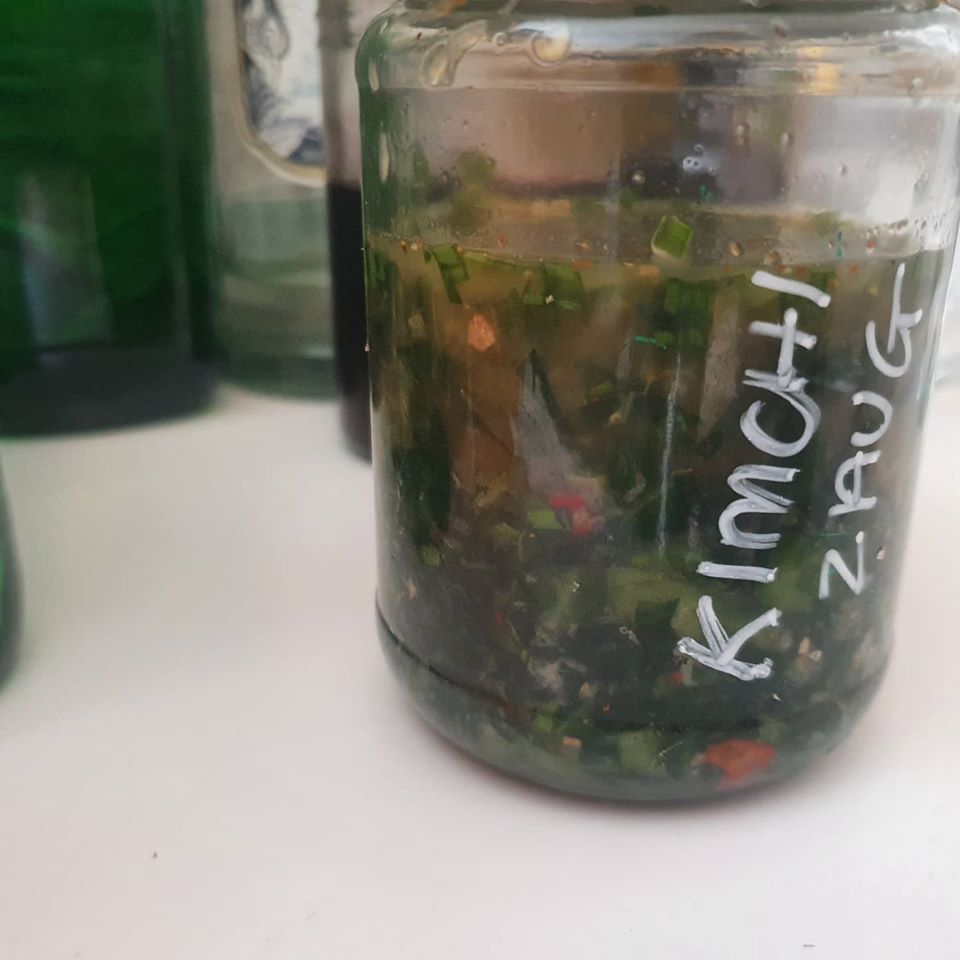
This is something I have been experimenting with recently to use up all those tatty outer leaves of my homegrown cabbages. They ones that don’t look very nice because they are slug eaten and sometimes a bit tougher than the fresh heart of the cabbage. They are just as good for you, so this recipe is great for breaking them down a little bit and making them more palatable and aesthetically pleasing!
Ingredients
Cabbage Leaves
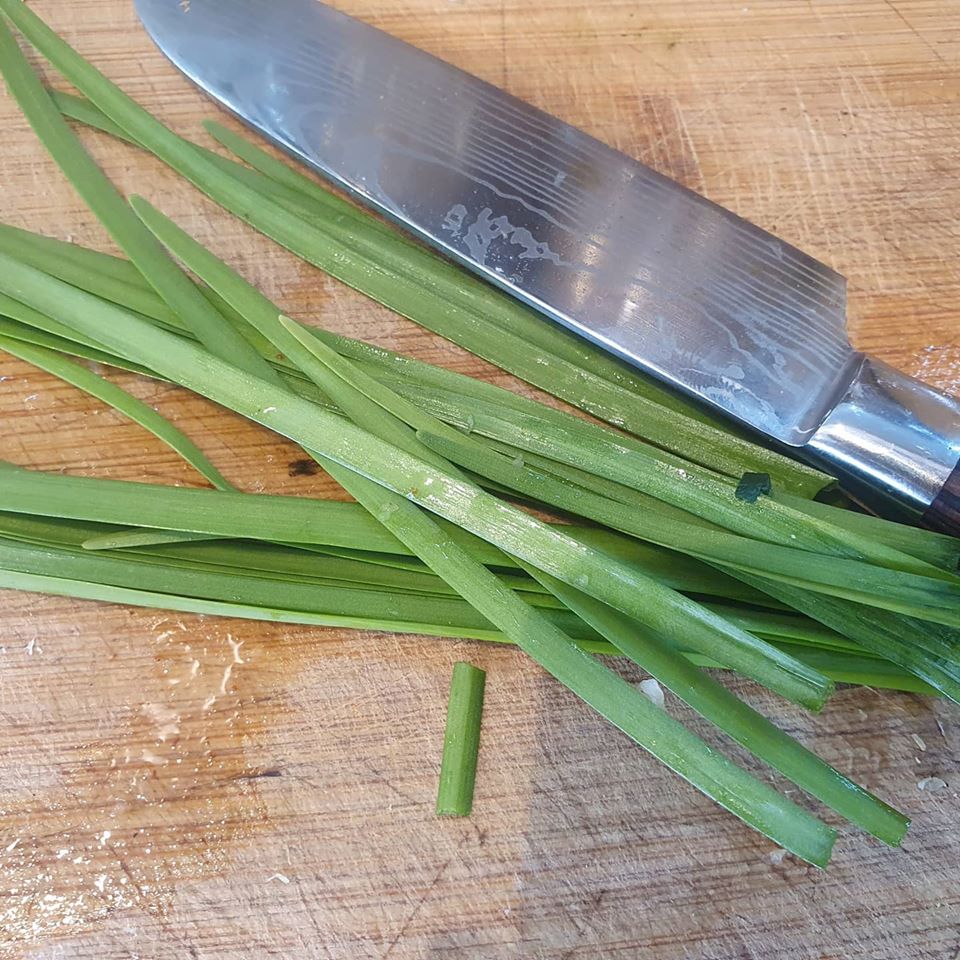
Onion Chives (optional)
Radishes (optional)
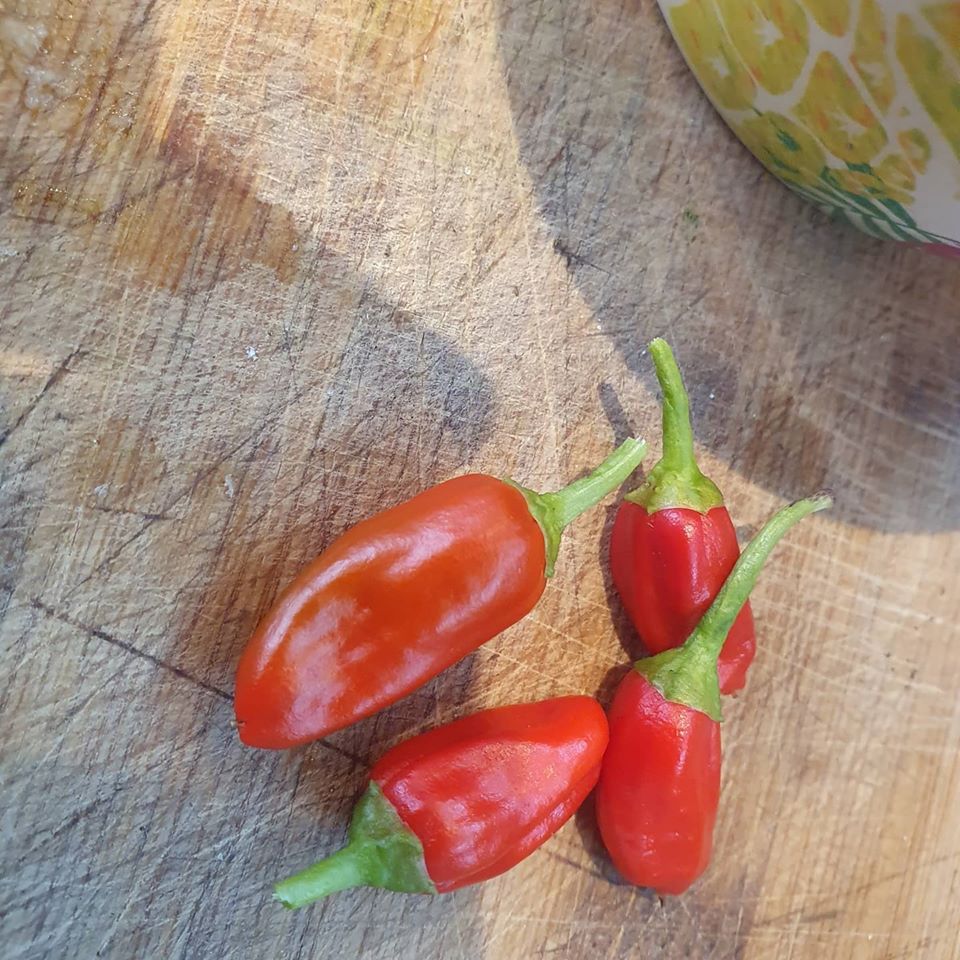
Fresh Chillies
Sea Salt/Rock Salt
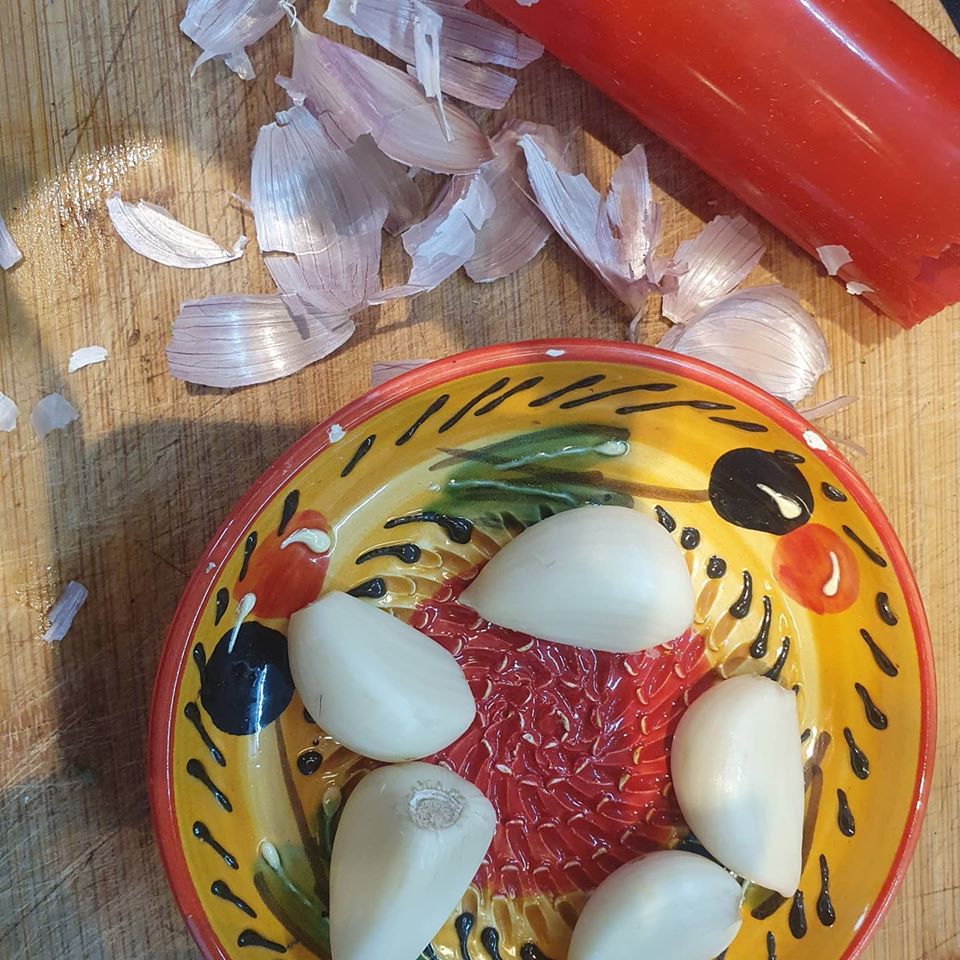
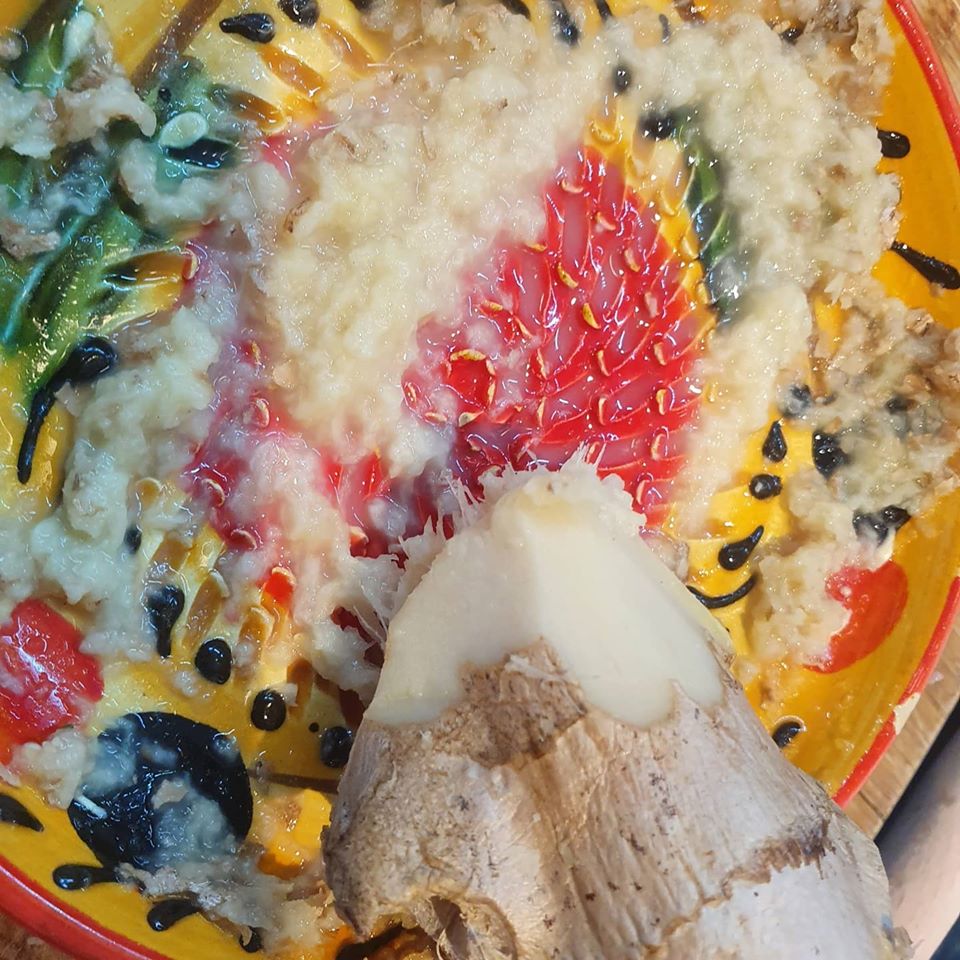
Thumb of peeled Ginger
Up to 5 garlic gloves
How much of these extra spices you put in will depend on your personal preference so have a go experimenting for a bit first.
Method
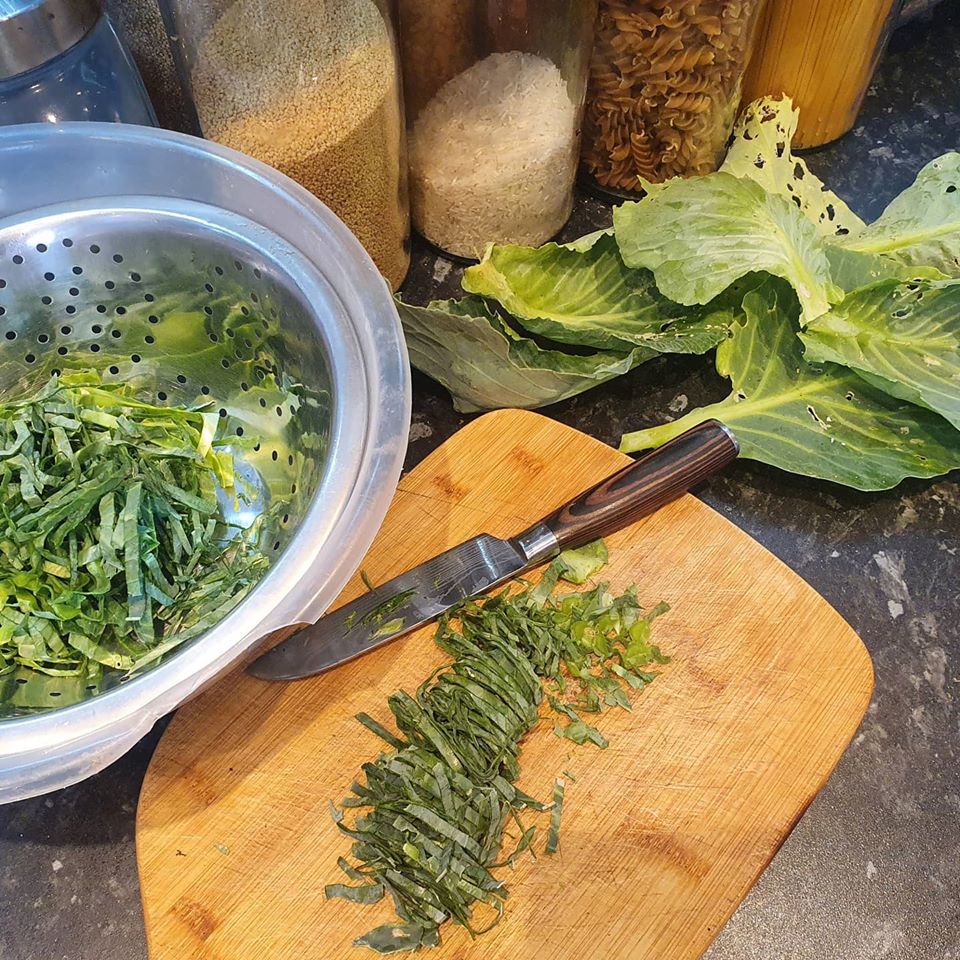
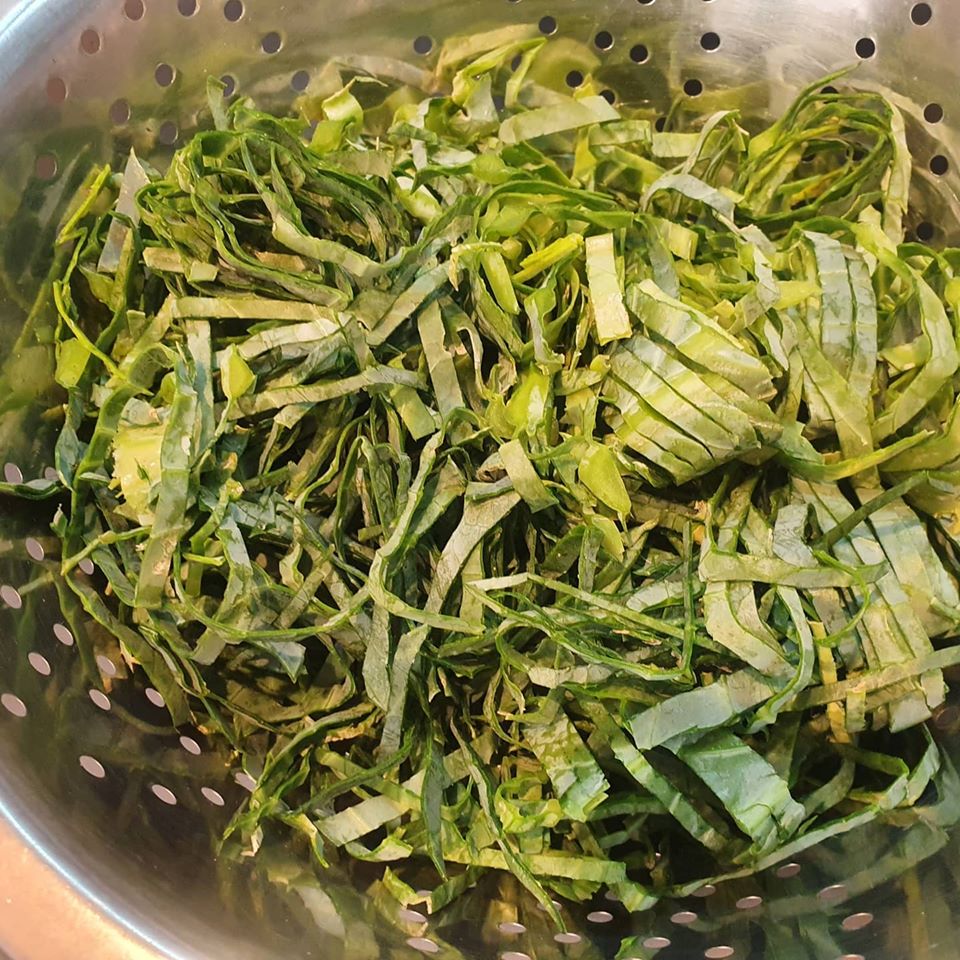
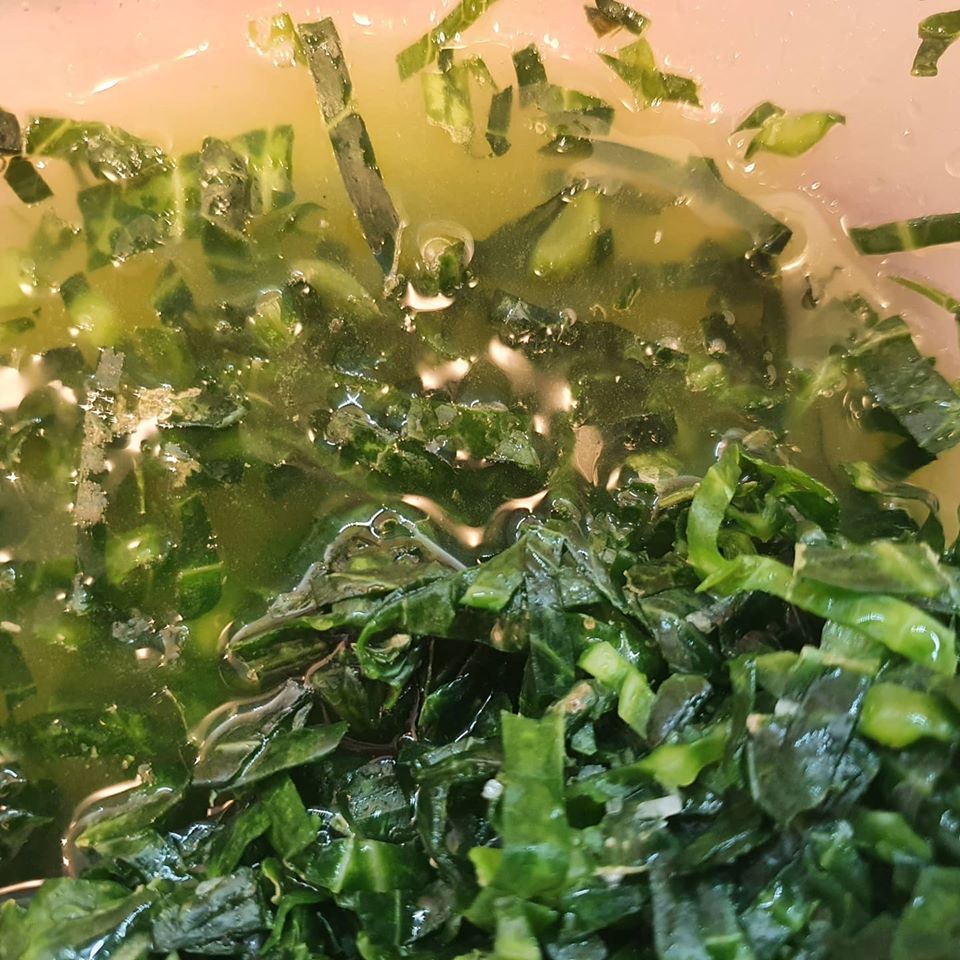
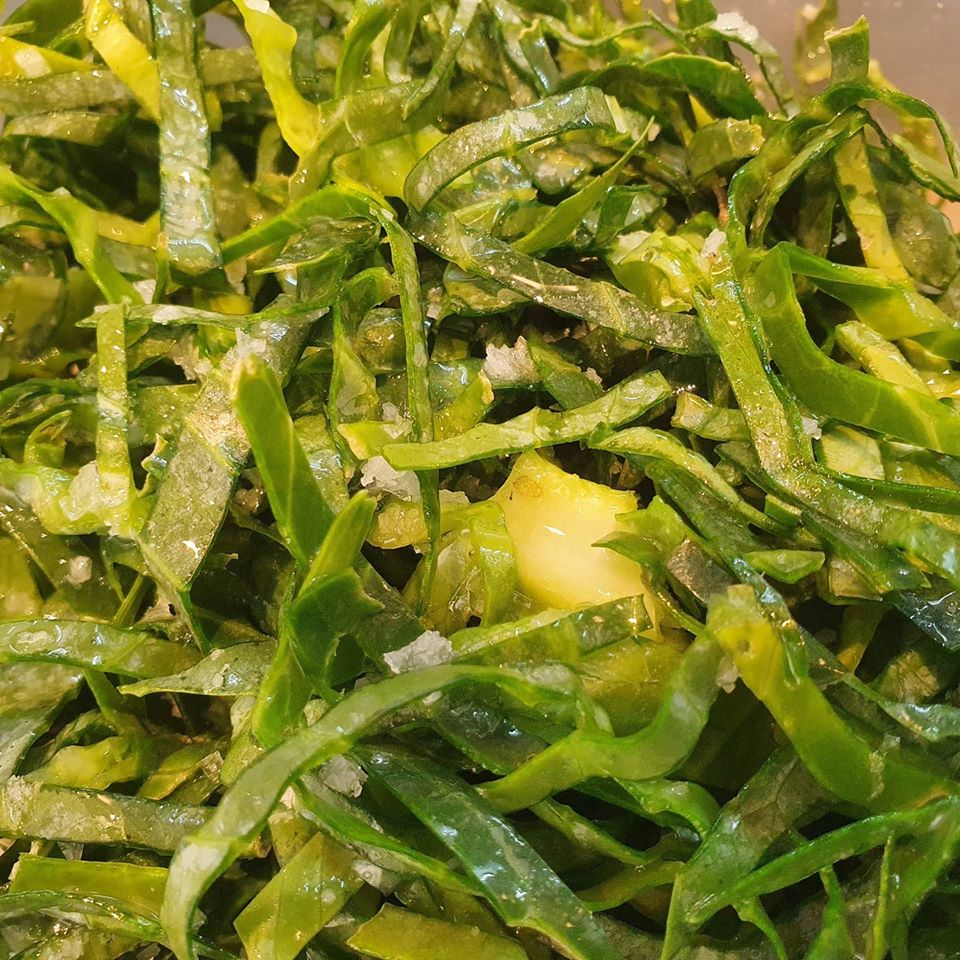
Wash and finely chop the cabbage leaves so that it is shredded. Remove any tough stalk ends.
Cover in a generous helping of salt, approximately 2-3 tablespoons.
Massage the cabbage with the salt and you should see liquid start to appear. Leave for a further hour covered up with a plate or cloth.
Meanwhile, finely grate the garlic and ginger and chop the chillie peppers. Mix well together into a paste with a few tsp of water to aid consistancy.
After the hour, rinse the cabbage through. Add the paste, and chopped onion/radish and mix well.
Add to a clean sterilised jar and push the cabbage down firmly and evenly so that it is submerged underneath the liquid that rises up.
Allow to ferment for 5-7 days. Then store in the fridge for up to 2 weeks.