Homemade Vegan Chocolate

These are not home grown or foraged! It is however, a brilliant recipe for saving money, brilliant for vegans, brilliant for those with allergies, brilliant for those with intolerances and can be made with organic ingredients.

It is an amazing THREE INGREDIENT ONLY chocolate recipe you can make at home. I find these so useful for my family, I just had to take a moment to share it. I hope you enjoy it as much as I do 🙂

Now as many of you will already know, I’m not vegan. That doesn’t mean I can’t appreciate vegan things and I also do try to introduce more vegetarian and vegan alternatives into my diet than I am normally used to. It’s a work in progress!

My problem is the various allergies and intolerances in my family.

My partner is likely mildly lactose intolerant.
My son is definately lactose intolerant
I am milk intolerant, soya intolerant and potato intolerant
My daughter has a milk allergy and a soya allergy and is potato intolerant.

What a lovely box of genes we have going on! All this create multiple issues in the kitchen. My partner and I can get away with chocolate, him more so than I. My son can have tiny bits. My daughter can have none at all. Even the free form range in our local shop is crammed with soya instead. (even bread has soy in it now by the way, its ridiculous).

I am continously amazed how a dairy free item can have soya in it considering the two are so closely linked together and often allergies to these two go hand in hand.

I therefore had no choice. My daughter deserves to have a treat sometimes and when a family member sits there eating chcoolate in front of her it’s just cruel to not give her the same opportunity.

Hence – this recipe.

Ingredients

  • 1 cup cocoa butter
  • 1/2 cup raw cocoa powder
  • 1 tbsp golden syrup/agave/maple (according to preference)

You can add a pinch of salt and a dash of vanilla if you fancy but it doesn’t really need it in my opinion so this is the core essential list you need to work with.

Method

  • Grate the cocoa butter so it’s easy to measure and melt.
  • Place all the ingredients in a metal or glass bowl suspended over a pan of boiling water. (bain marie)
  • Gently and slowly melt them and stir together. Do not rush – this will burn the chocolate!
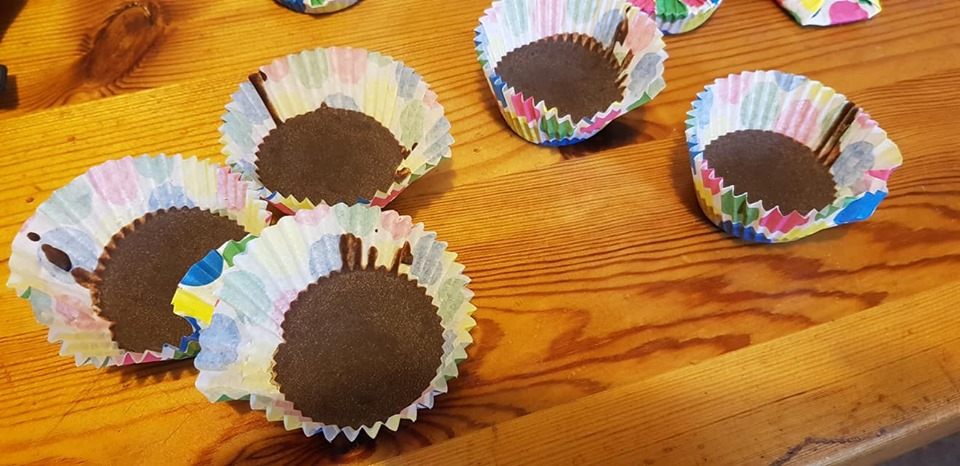
  • Pour into muffin cases or into chocolate silicone moulds if you have them.
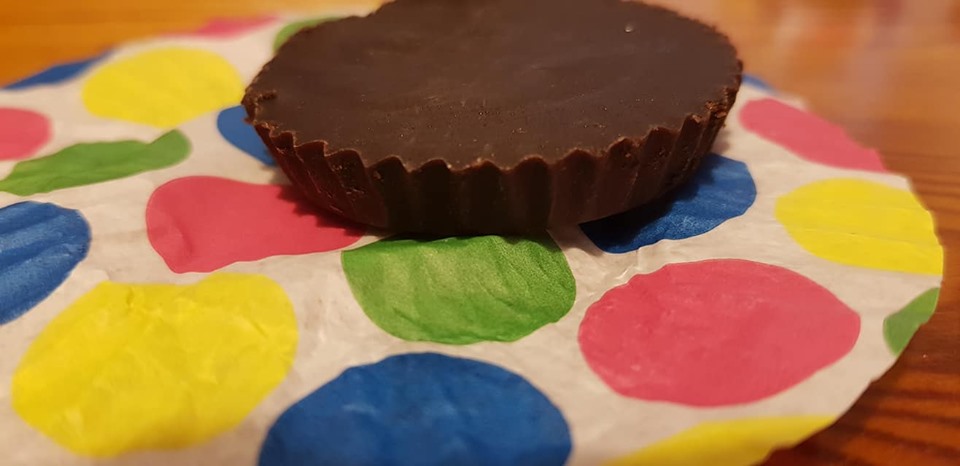
  • Pop in the fridge until set – viola!

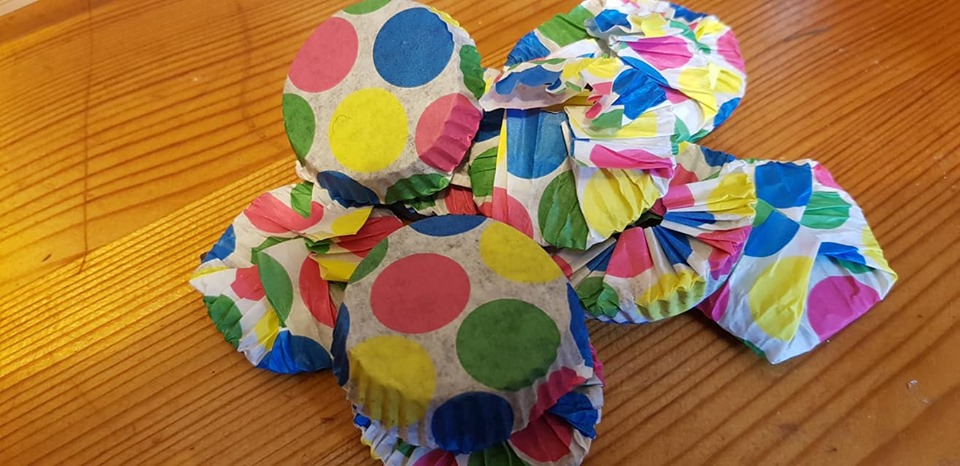
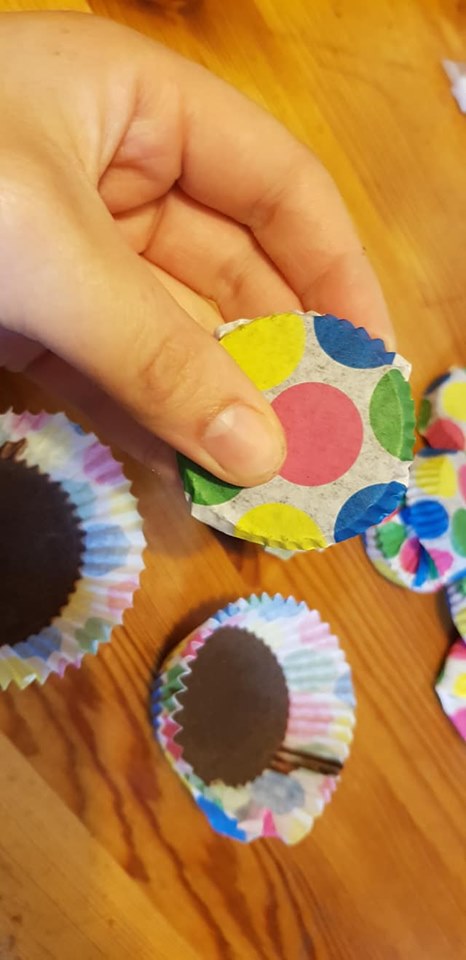
I like to put them into muffin cases and then fold the muffin cases over when they are set creating little individual wrappers. This makes them perfect for lunch boxes, on the go treats and general storage. It also portions it out rather nicely so I can avoid over doing it when dishing out the treats. But that’s just me 🙂

Again it’s not really free food, but it is MILES cheaper than buying the dairy free options on mail order because your local shop doesn’t do them.

Enjoy!


Let us Grow Lettuce

I gave this a go recently out of sheer desperation. We had a big hole in our garden ready for autumn/winter planting and an inspection looming just a few days away. With nothing left in the garden centres we were racking our brains how best to quickly fill up the mini plot to make sure it looked like we weren’t just needlessly making a big hole in the garden. As it turned out, they didn’t even look at what we’d done to the garden, but at least it gave us a solid push to get our stuff sorted for the year!

I was trawling through the supermarket and there it was… a pack of lettuce. But not a cellophane wrapped cut lettuce head or ready to eat bag mix, it was those “still growing” fresh varieties that are all the rage right now with force grown lettuce jam packed into a small container of thin soil that last just a few days longer than normal if you get them home to sun and water quickly.

Not this one but something just like this (from the mysupermarket website):

084650


The lettuce is tiny and delicate – and that’s good if you’re into that but it you want something substantial you should think about replanting it. Yep, turns out that this little tray of lettuce has so many seedlings in it, a third of this small tray produced two packed rows of lettuce on my mini plot. They toughened up in no  time with a temporary poundland polytunnel which lasted just long enough to prepare them for their new outdoor life (about a week – not worth the pound).

This is the little beauties a week later after I removed the destroyed polytunnel.

14202690_10154410642671774_947224565535464132_n

Not only did they survive, but they have grown very well, given a new lease of life they took to the new average soil very well no doubt starved of nutrients long ago in their little tray and have become good sized plants. I am now just a few weeks later cutting leaves off for my salads without much thought. The leaves are still also relatively delicate and they aren’t tasteless, tough abominations.

Considering this tray of lettuce cost me £1 (from the reduced section) and I easily have more than 10 lettuces out of a third of the tray I’d call that excellent value for money and a great fast turnaround for the vacant autumn plot. I’m definitely recommending this trick for anyone in need of fast lettuce or looking to get some lettuce seedlings out of garden centre season.

14188497_10154410642776774_543066294032191294_o


What to do with the odd one out tomatoes

It’s the beginning of tomato season.. and only one or two tomatoes are ripe while the rest wait patiently to ripen in little clusters of reasonable quantity.

IMG_20160812_194507

The very first tomato that ripens you will probably eat and comment on how amazingly sweet your tomatoes are compared to the shop standard. But what could you do with the small clumps afterwards? They aren’t enough to make a meal just yet so you’d be forgiven for keeping some shop tomatoes in the fridge still.

20160812_073217

Well this year I’ve decided to dry a few in my dehydrator. It’s sunny, so for fear of flies I didn’t want to leave them out in he sun – but if you have good weather and appropriate netted racks this would be ideal. You can also choose to pop them in the oven on a low heat.. say around 50 degrees c and this will do the same job as your dehydrator.

20160812_073257

Cut the tomatoes at least once to expose the gooey centres and line them up on baking paper. It helps if they are all roughly the same size as this provides an even drying process.

20160812_073349

Make sure they are thoroughly dry throughout to prevent spoiling later on. When completely dry, you can store them in jars and keep adding more as and when they ripen.

20160812_073435

These dried tomatoes are full of flavour and make great additions to soups, risotto/paella, tapas, sauces and more. You can use them up now, or wait until tomato season is over to get a bit of extra seasonal milage out of them.

How to Crystalise Flowers

This is a fun little activity I discovered recently while looking for things to do with my foraged flowers. I had a variety of wonderful edible flowers and I already had more teas than I knew what to do with. It was then I came across the traditional fun and creative Victorian activity of flower crystalising. This is a really easy way of storing flowers and doing a fun and creative activity with the kids. It’s also very easy – you don’t have to be a whizz at cake decorating to get this one right.

20160526_111444

Step one is to to pick a bunch of edible flowers to use. Try to avoid going for ones from the shops, as these can often have harmful chemicals on them. Picking from your own garden is best – where you know exactly what they have been exposed to (or hopefully not exposed to!). Many flowers will also throw out extra blooms when a few are picked so you don’t have to worry about impacting your garden display.

Make sure you check out a reputable list of edible flowers and identify your flowers beforehand with absolute certainty.

I tried a range of flowers at first including hawthorn, daisy, geranium, poppy, forget me not and ground ivy. Not every flower will taste of anything but sugar – but it is worth noting you feel much less impatient when doing the larger flowers – although the forget me not were definately worth the strain!

20160526_111212

You then need one egg. Just one egg will do a large amount of flowers so you shouldn’t need any more than this. Separate off the egg white – this is the bit you want to keep for once! Give the egg white a good whisk – quality eggs will be a bit thick and will need breaking down to be more easily usable.

20160526_111631

Next get a clean (preferably unused or specifically kitchen based) fine paintbrush. Dip it in the egg whites and proceed to “paint” your flowers. Make sure to paint each petal on both sides and paint any parts of the flowers both showing and hidden (getting under any leafy bits and between petals etc).

Next get out some sugar. Castor sugar is preferred as it is finer and more delicate, but I used granulated sugar and it worked out just fine really.

.20160526_111902

Dust both sides of the flowers being careful to cover as much as possible. Then place face down on greasproof paper and leave to dry. Once dried the flowers will go hard and will store easily. You can pop them in a dehydrator to speed up the process. You can then pick them up and place them delicately on top of fairy cakes… or whatever you please. They will retain thier shape and form and vibrance.

20160526_114828

20160526_114833

20160526_114839

20160526_114849

20160606_200823

Viola!

Primrose Tea

20160325_160137 20160325_160108

Primrose! The lovely little five petal delicate flower we love to have in our gardens – is totally edible! Both leaves and flowers can be eaten, but Primrose tea is made from the leaves.


20160325_091500

You can use the leaves fresh or dry them out and store them for future use.

20160325_160039

Fill a tea strainer with leaves, and then let it steep in hot water for a few minutes. The water will turn a pale green colour. This tea tastes liek an everyday geenric herb tea – it doesn’t have any kind of real flavour to it. I added the primrose flowers to the top of my glass to liven it up a bit and improve the flavour and content. This means you get a wonderful nose full of the smell of flowers everytime you take a sip too, which is highly relaxing!


20160325_155117 20160325_155107In the early days of medicine, the Primrosewas considered an important remedy in muscular rheumatism, paralysis and gout. The herb has sedative propoerties.
Not to be mistaken for other similar varieties and cross cultivators (evening primrose – also made into teas and tinctures, cowslip, oxlip).20160325_155103

Jelly Ear Hunting

Sometimes it is handy to get a look at a foragable item “in motion”. Pictures do not often do it justice when thinking about location and 3D appearance.

For this reason I have produced a short clip of my jelly hunt this year in a well known mushrooming spot in Birmingham.

View the video here.


These jelly ears were found in a man made wood consisting of Pine, Fir/Spruce and Elder. Jelly ears are commonly found on dead elder trees and here was no exception. For help identifying Jelly Ears for yourself you can also check out of Jelly Ear Identification post.


For comparison here is a picture of some of the jelly ears I found yesterday both fresh and old.

IMG_2936 IMG_2927