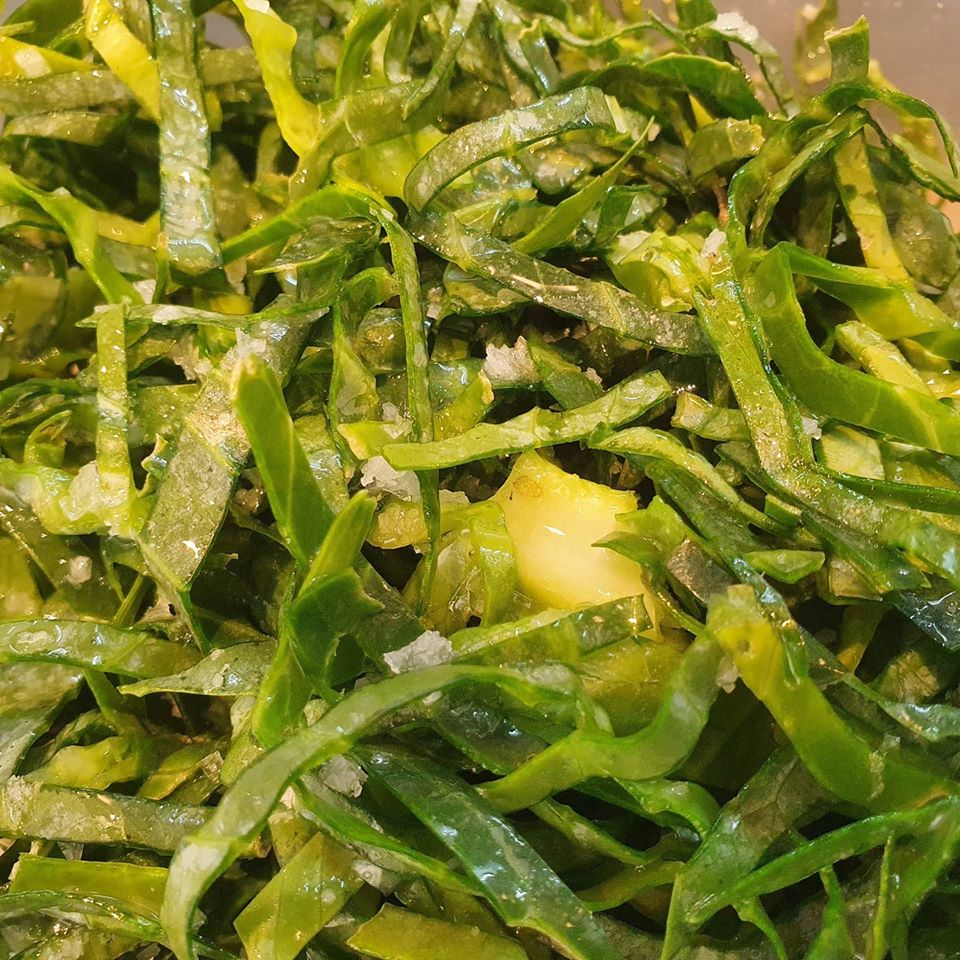
This is something I have been experimenting with recently to use up all those tatty outer leaves of my homegrown cabbages. They ones that don’t look very nice because they are slug eaten and sometimes a bit tougher than the fresh heart of the cabbage. They are just as good for you, so this recipe is great for breaking them down a little bit and making them more palatable and aesthetically pleasing!
Ingredients
- Cabbage Leaves
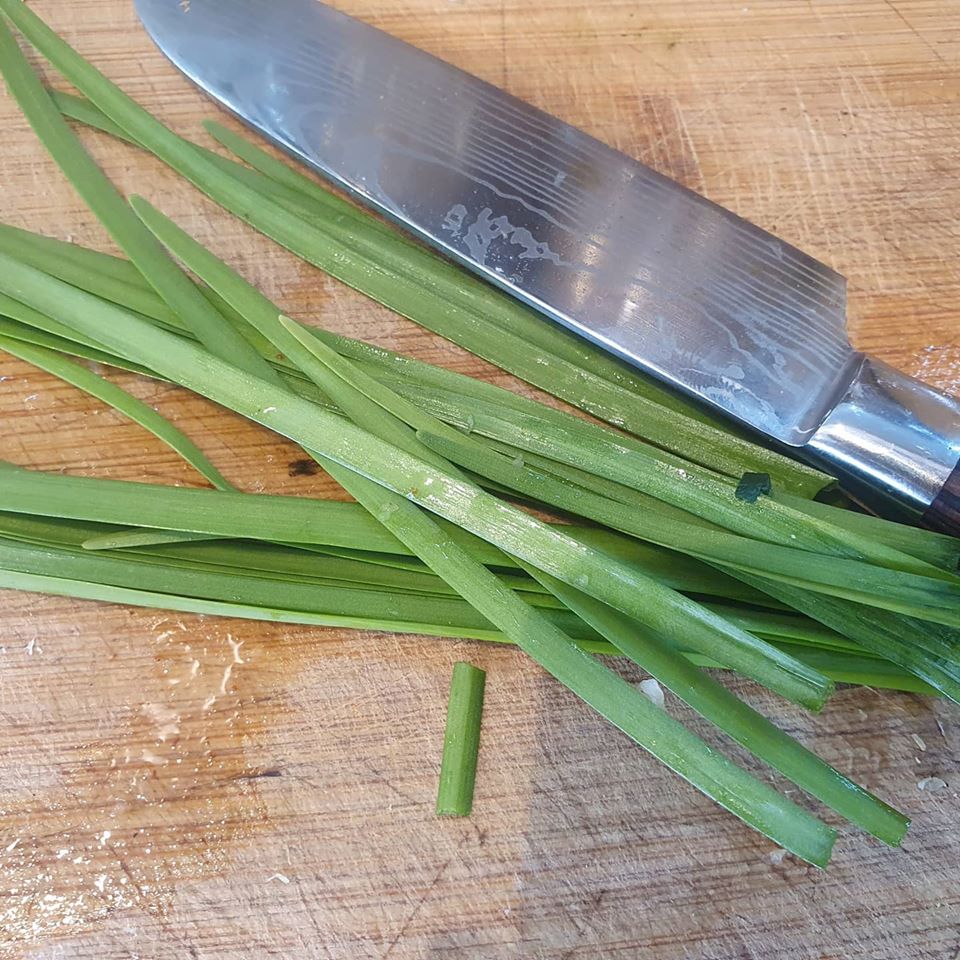
- Onion Chives (optional)
- Radishes (optional)
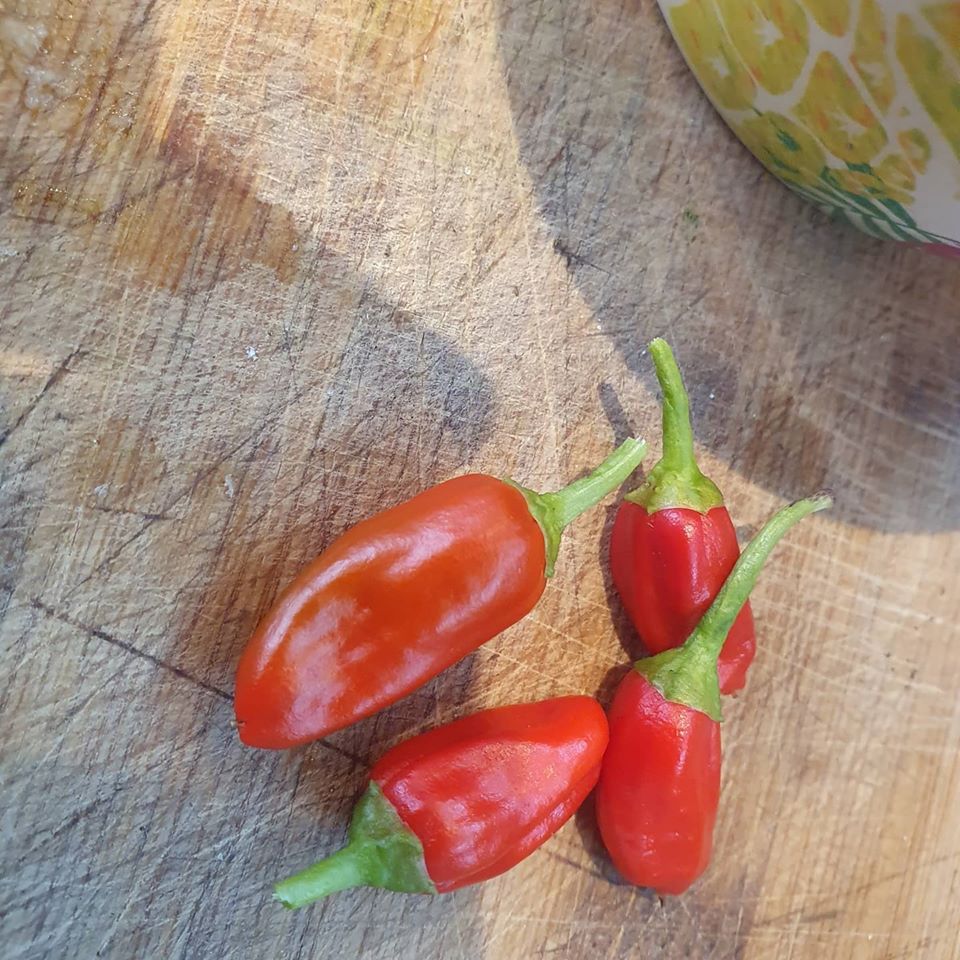
- Fresh Chillies
- Sea Salt/Rock Salt
- Thumb of peeled Ginger
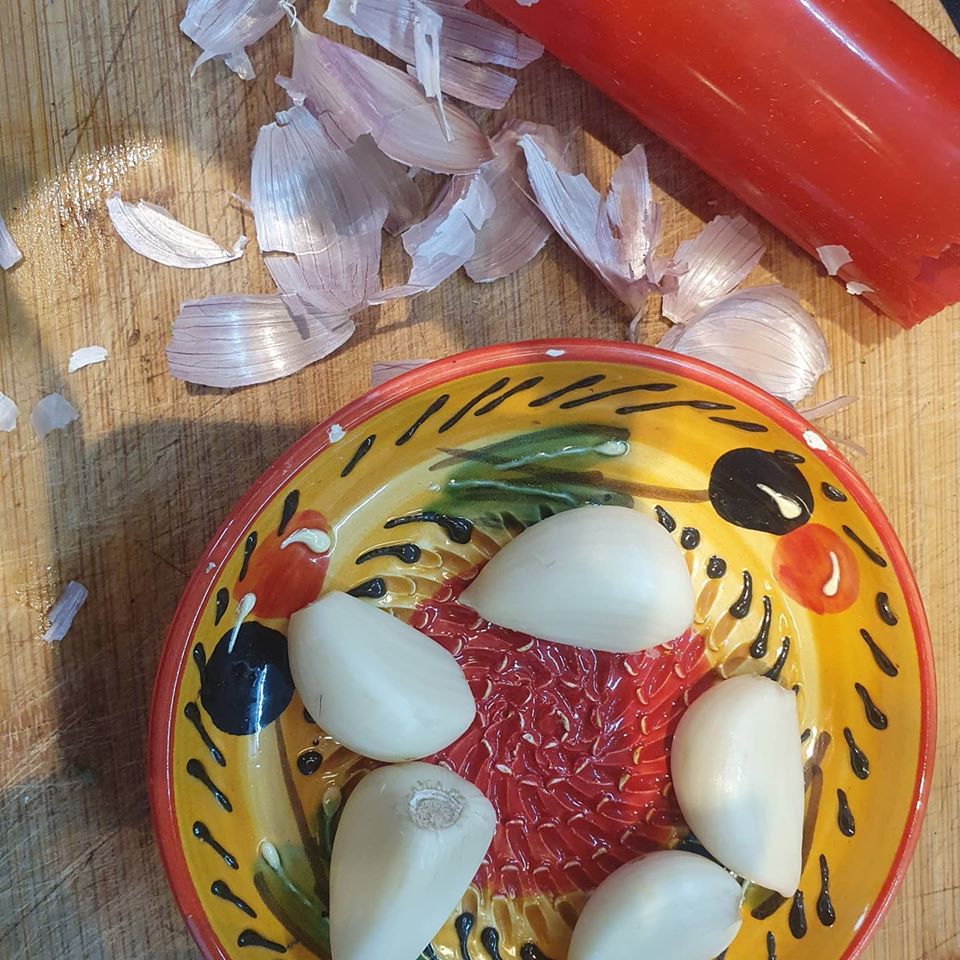
- Up to 5 garlic gloves
How much of these extra spices you put in will depend on your personal preference so have a go experimenting for a bit first.
Method
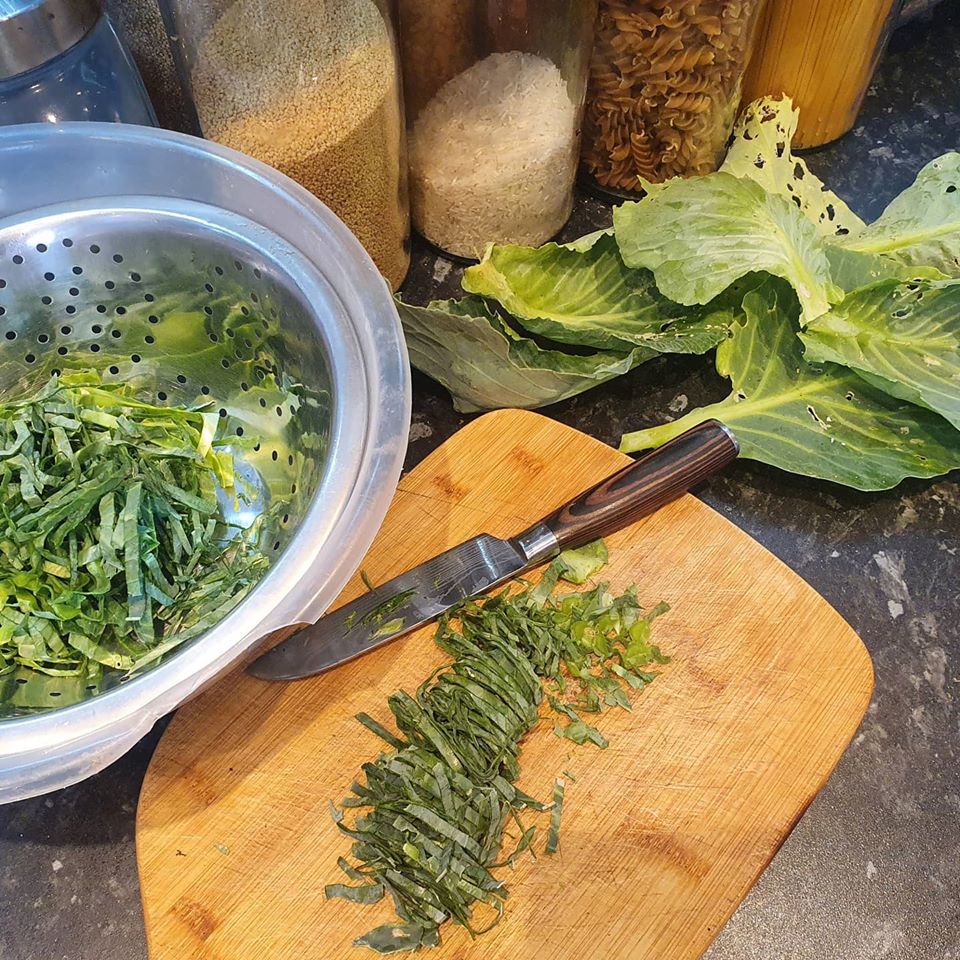
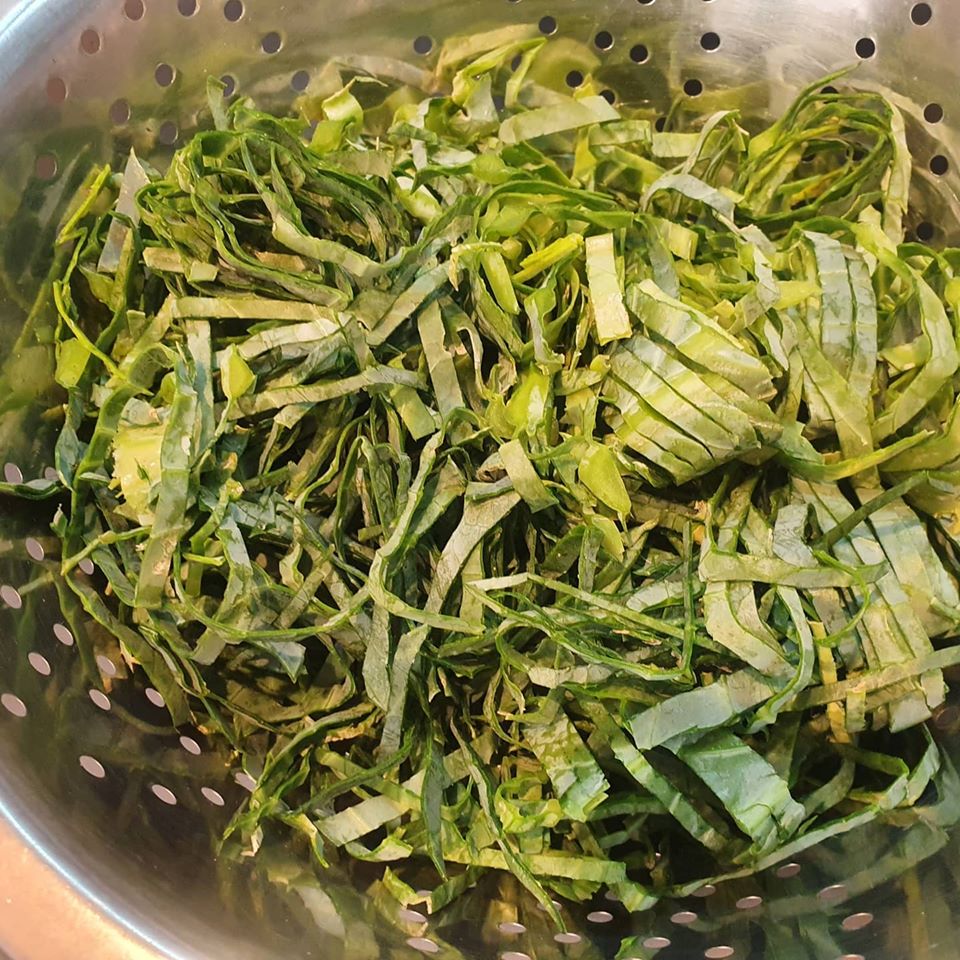
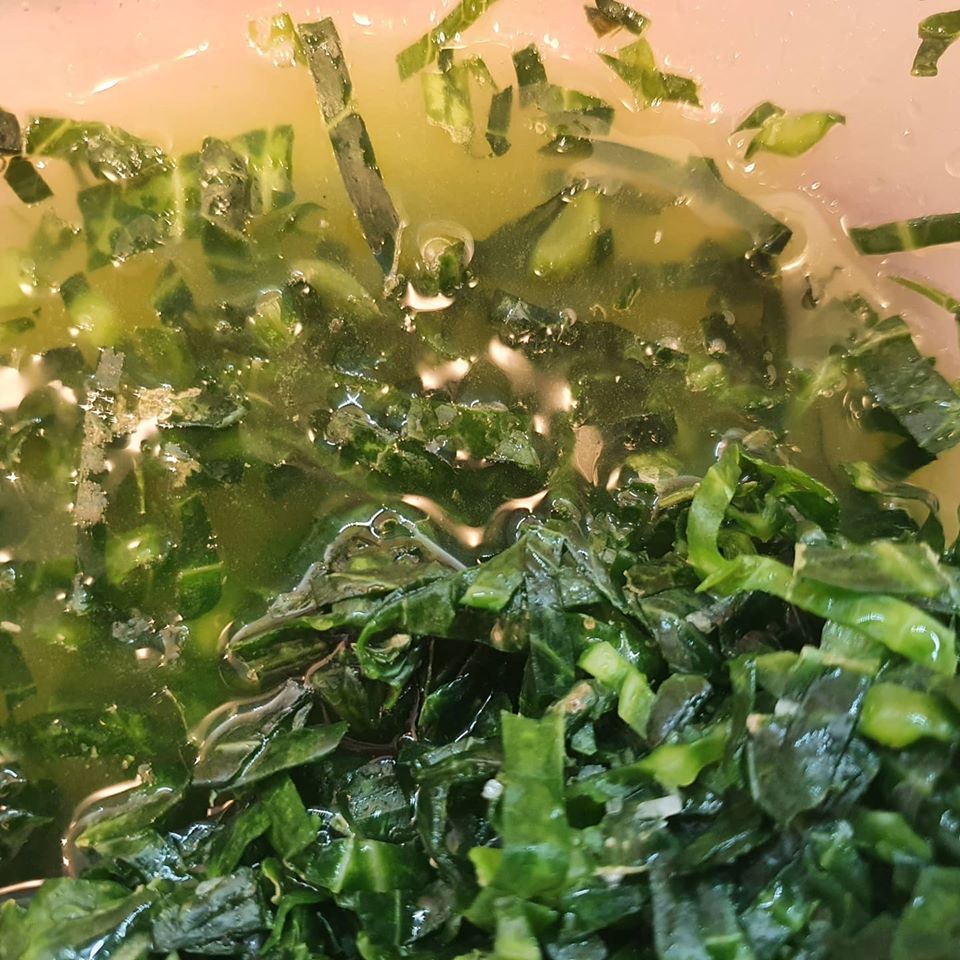
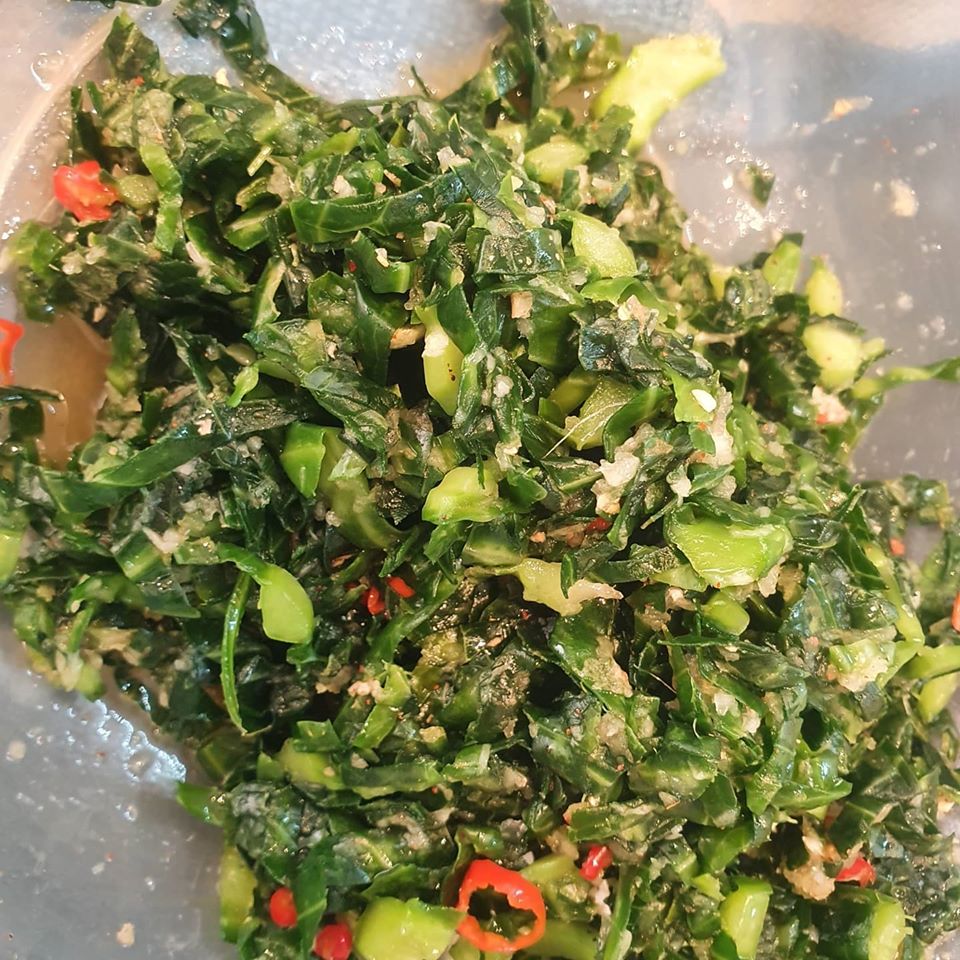
- Wash and finely chop the cabbage leaves so that it is shredded. Remove any tough stalk ends.
- Cover in a generous helping of salt, approximately 2-3 tablespoons.
- Massage the cabbage with the salt and you should see liquid start to appear. Leave for a further hour covered up with a plate or cloth.
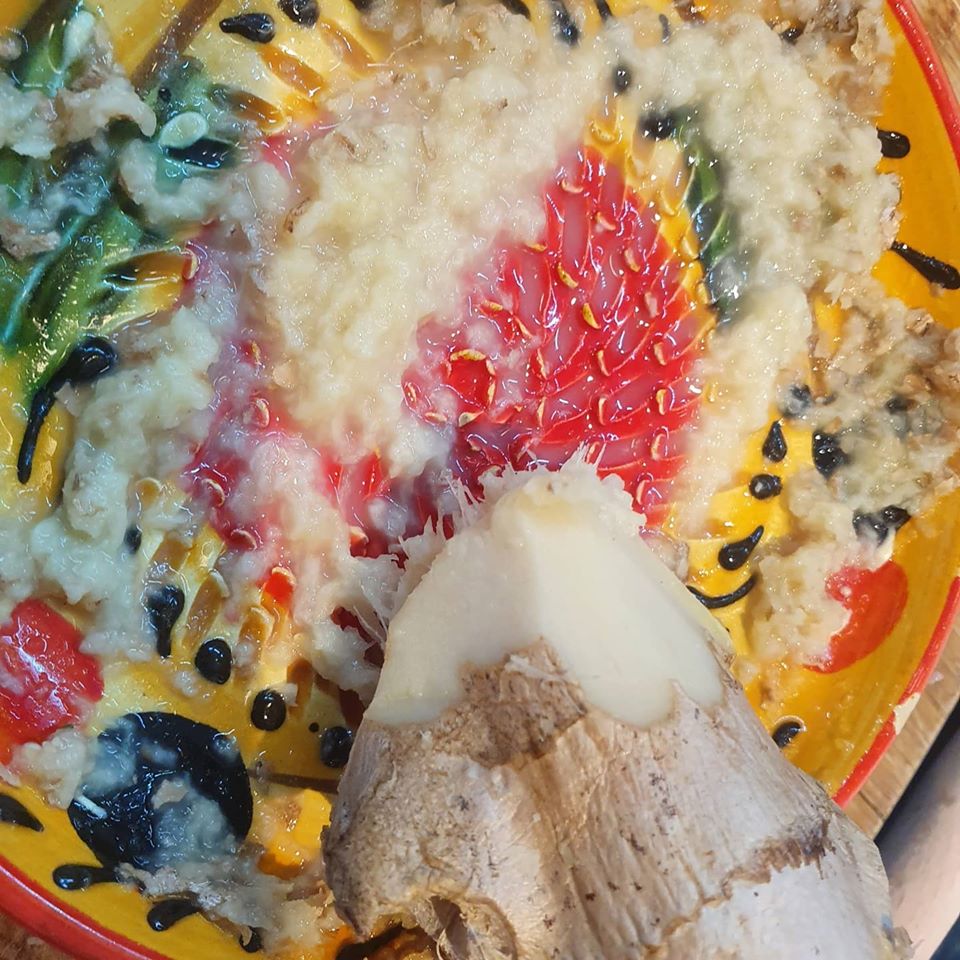
- Meanwhile, finely grate the garlic and ginger and chop the chillie peppers. Mix well together into a paste with a few tsp of water to aid consistancy.
- After the hour, rinse the cabbage through. Add the paste, and chopped onion/radish and mix well.
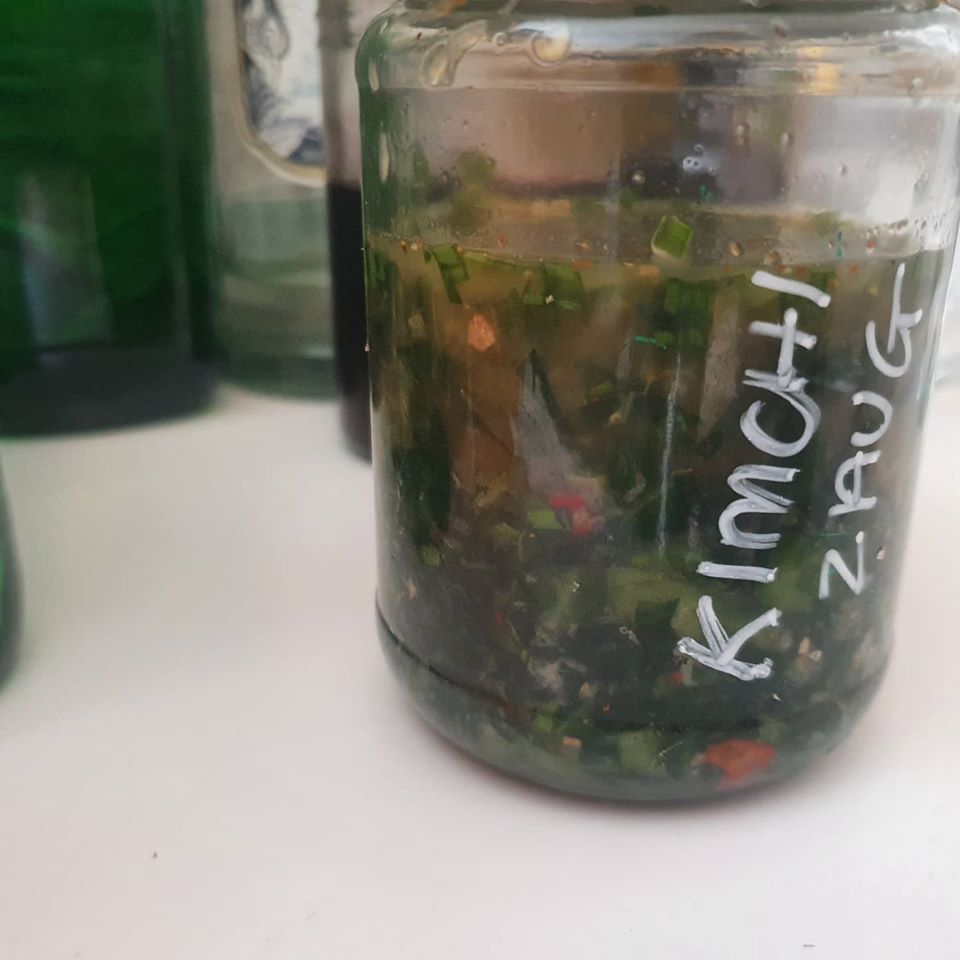
- Add to a clean sterilised jar and push the cabbage down firmly and evenly so that it is submerged underneath the liquid that rises up.
- Allow to ferment for 5-7 days. Then store in the fridge for up to 2 weeks.