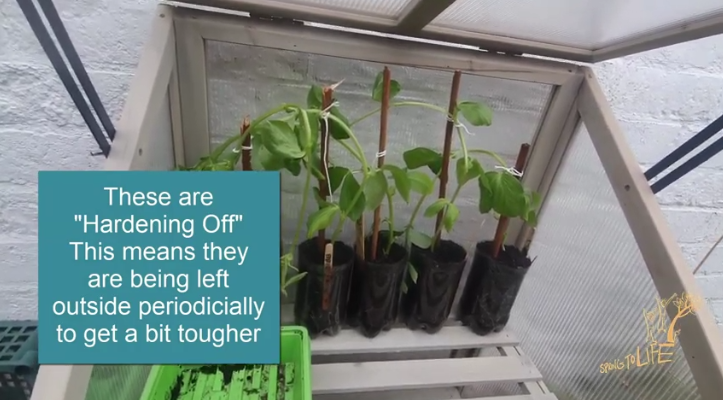
It’s time to plant broad been seeds if you haven’t done so already. You cna plant them in pots indoors before you transplant themoutside, or you can get them in the ground right away (at the risk of any frosts we may still have).
Check out this video from Mother Gardens about the entire process here:
Sometimes winter can get us a bit low, we are still waiting for all the yummy spring greens to pop up and those of us without greenhouses are waiting for planting the veggies too.
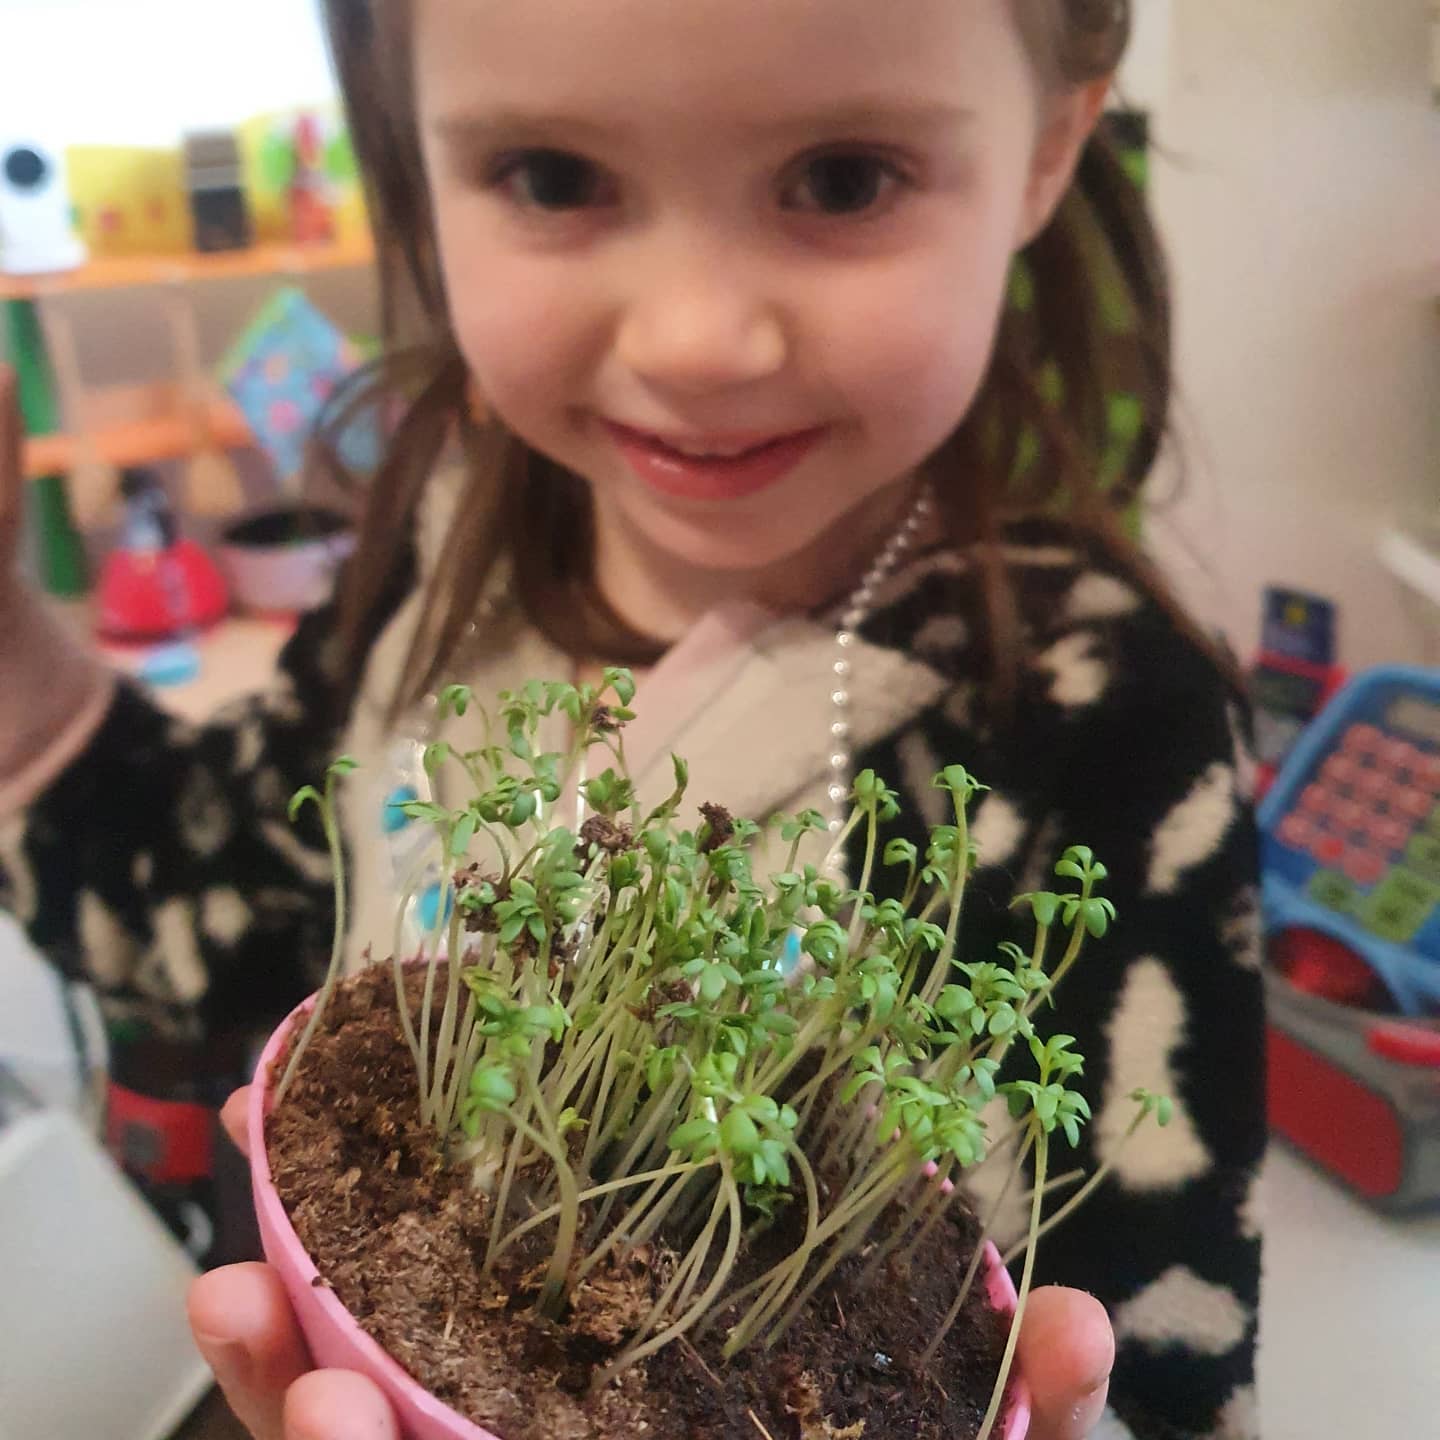
But there are still plenty of things you can grow on the windowsill and get started eating right away! Microgreens is one great way of doing this. Microgreens are just edible plants that we grow and eat before they get too big. Usually less than an inch high. This means you have to sow alot of seeds to get a decent meal out of them, but they are packed full of nutrients because the plant hasn’t spent them all yet.
You can grow microgreen sin almost anything, a bit of soil in a tray, wet tissue paper or a special hydroponic microgreen tray. They have a very quick turnaround time, usually only a few weeks and you see results almost right away so it’s also a fantastic way of getting the kids involved in the growing process and keeping them engaged with it.
They are also usually packed full of flavour too so be prepared for some extra flavourful tasty and nutritous greens to kick start your year.
The key to low cost successful microgreens is the seeds you buy. You do NOT have to buy thso especial packs of microgreen seeds you see in garden centres. This will end up costing you £2 for a single tray of microgreens and it’s not going to win anyone over.
Bulk Purchasing
Some microgreens like Cress can be bought in bulk online for much cheaper. You can get 1kg bag for £10 and that will keep you in microgreens year round.
Using Food Seeds
Some kitchen spices are seeds like mustard, coriander, fennel, or you may wish to use sunflower seeds or chia seeds. These can all be used to create microgreens and they are even cheaper than microgreen seeds like cress. Buy them in bulk to save even more money. Brown mustard seeds for example you can get a 1kg bag for as little as £5. All you need to do is check that they are non-irradiated. Most organic brands will use non iradiated seeds.
Saving Seeds
You can also save seeds from your own garden or allotment. If you have a fennel plant in your garden, you’ll find even one single fennel gherb can produce plenty of fennel seeds each year and these can be used to produce tasty microgreens at no additional cost. This is by far the cheapest option!
Using old Seeds
Some people don’t like using seeds that are too old and buy new packets every year. While this isnt necessary for all seeds, it does mean that you or your friend may have always got older seeds laying around ‘just in case’ that never get used up. Broccoli, cabbage, shard, beetroot, chive, basil, kale are all seeds that dont mind being left a few years and do great as microgreens. Have a clear out of your seed box and gather your ‘odds and ends’ together and you’ll be suprised what you come up with.
Buy a Ready Made Kit
You could also buy one of our ready made kits to get you started. This is a good choice if you aren’t confident with what you are doing yet or you are after something designed specially for the kids to peak thier interest. Once you have used the seeds up in the kit you can use one of the above options to keep the fun going! We’ve kept the cost of our microgreen kit low and affordable and purchases of the kit help fund our community projects in Stirchley so you’ll be helping out our local community too.
You can help to beat the winter blues by starting your growing projects early indoors. Even if you don’t have much space to play with, all you need is a windowsill and some creativity!
After Christmas and New Year it can feel like a bit of a long haul. We are all a bit tired, the main event is over with and there’s not much to forage yet. Its cold outside and all a bit grey and we don’t have much money to spend on new hobbies and interests. But it is the perfect time to start on those small growing projects indoors and remind ourselves that spring is just around the corner. There is something to look forward to afterall and it only takes a couple of weeks to start seeing results.
Staying connected to nature and the seasons helps us to stay grounded and positive. Even the humble Christmas tree is a symbol of evergreen life and a reminder that not everything is dead and life will begin anew in the spring once more.
To get started you just need a few seeds – they don’t even have to be from the garden centre. You can grow microgreens from many household spices and seeds such as coriander seeds, sunflower seeds, chia seeds and fennel. Chances are you have everything you need already. If you do need a helping hand however, you can buy one of our microgreen starter craft kits.
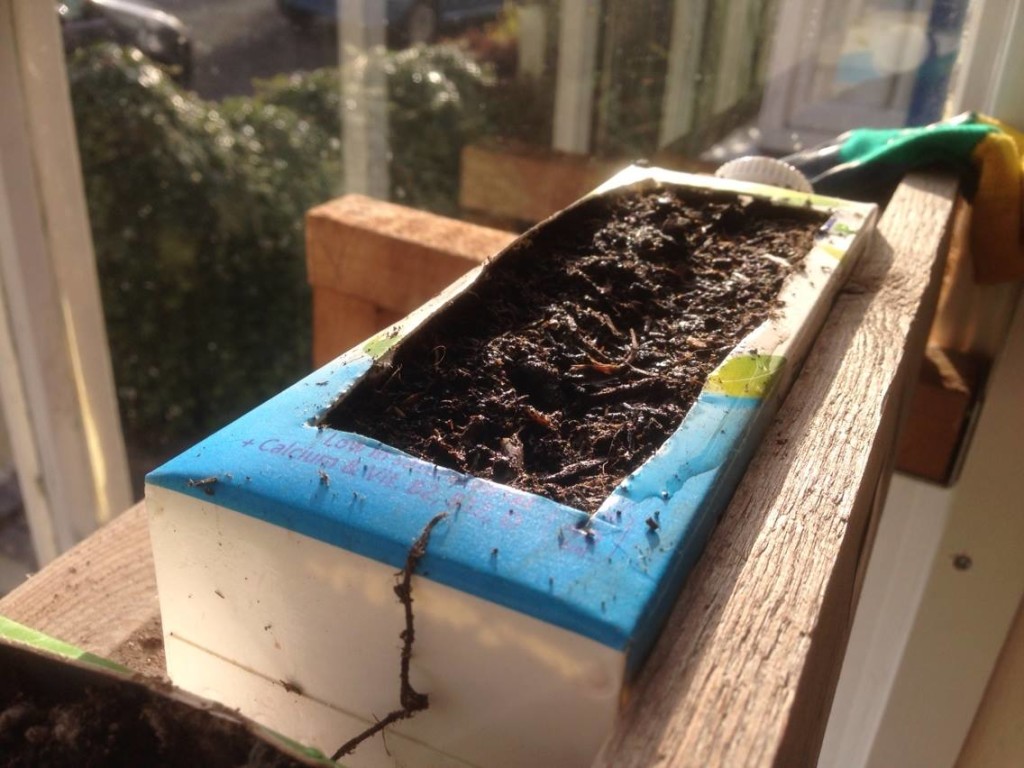
Then you just put some low nutrient or general purpose soil, or coir mix into the tray and sprinkle the seeds on top. Give them a good water to get them started and place on your windowsill. Each seeds takes a different amount of time to get srated, but generally they can range from 3-12 weeks to produce a good crop depending on the size of the seed and the size you wish to harvest at.
Growing pea shoots on the windowsill in a milk carton using whole dried peas from the supermarket.
I gave this a go recently out of sheer desperation. We had a big hole in our garden ready for autumn/winter planting and an inspection looming just a few days away. With nothing left in the garden centres we were racking our brains how best to quickly fill up the mini plot to make sure it looked like we weren’t just needlessly making a big hole in the garden. As it turned out, they didn’t even look at what we’d done to the garden, but at least it gave us a solid push to get our stuff sorted for the year!
I was trawling through the supermarket and there it was… a pack of lettuce. But not a cellophane wrapped cut lettuce head or ready to eat bag mix, it was those “still growing” fresh varieties that are all the rage right now with force grown lettuce jam packed into a small container of thin soil that last just a few days longer than normal if you get them home to sun and water quickly.
Not this one but something just like this (from the mysupermarket website):
The lettuce is tiny and delicate – and that’s good if you’re into that but it you want something substantial you should think about replanting it. Yep, turns out that this little tray of lettuce has so many seedlings in it, a third of this small tray produced two packed rows of lettuce on my mini plot. They toughened up in no time with a temporary poundland polytunnel which lasted just long enough to prepare them for their new outdoor life (about a week – not worth the pound).
This is the little beauties a week later after I removed the destroyed polytunnel.
Not only did they survive, but they have grown very well, given a new lease of life they took to the new average soil very well no doubt starved of nutrients long ago in their little tray and have become good sized plants. I am now just a few weeks later cutting leaves off for my salads without much thought. The leaves are still also relatively delicate and they aren’t tasteless, tough abominations.
Considering this tray of lettuce cost me £1 (from the reduced section) and I easily have more than 10 lettuces out of a third of the tray I’d call that excellent value for money and a great fast turnaround for the vacant autumn plot. I’m definitely recommending this trick for anyone in need of fast lettuce or looking to get some lettuce seedlings out of garden centre season.
It’s the beginning of tomato season.. and only one or two tomatoes are ripe while the rest wait patiently to ripen in little clusters of reasonable quantity.
The very first tomato that ripens you will probably eat and comment on how amazingly sweet your tomatoes are compared to the shop standard. But what could you do with the small clumps afterwards? They aren’t enough to make a meal just yet so you’d be forgiven for keeping some shop tomatoes in the fridge still.
Well this year I’ve decided to dry a few in my dehydrator. It’s sunny, so for fear of flies I didn’t want to leave them out in he sun – but if you have good weather and appropriate netted racks this would be ideal. You can also choose to pop them in the oven on a low heat.. say around 50 degrees c and this will do the same job as your dehydrator.
Cut the tomatoes at least once to expose the gooey centres and line them up on baking paper. It helps if they are all roughly the same size as this provides an even drying process.
Make sure they are thoroughly dry throughout to prevent spoiling later on. When completely dry, you can store them in jars and keep adding more as and when they ripen.
These dried tomatoes are full of flavour and make great additions to soups, risotto/paella, tapas, sauces and more. You can use them up now, or wait until tomato season is over to get a bit of extra seasonal milage out of them.
Do you have a thriving tomato plant in your home, garden, polytunnel or conservatory? Great! Then by now you are no doubt getting handfuls of tomatoes from it and looking at more unique ways of serving them up. This is a fantastic way of preserving the tomatoes and gaining a tasty sauce you don’t need to feel bad about adding to your dishes. This sauce keeps for up to 12 months sealed and 6 weeks once opened (if stored in the fridge when open). It tastes great too!
Ingredients
2.5kg tomatoes
1 large onion
2 tsp ground black peppercorns
2 tsp coriander
4 cloves crushed garlic
1 teaspoon tomato paste
2 teaspoons ginger (ground or juiced according to taste)
dash of chilli according to personal preference
600ml white wine vinegar
250g white sugar
1 tsp salt
Method
Roughly chop the tomatoes and onion, and place in a large pan with all the spices. Add the vinegar and bring to the boil then reduce the heat and simmer for 45 minutes.
Add the sugar and stir until dissolved then bring to the boil. Once boiling point is reached reduce the heat and simmer for 1 hour.
When the sauce is thick and pulpy blend or sieve the mixture according to your preference and store in an appropriate rubber sealed bottle.
While this is a picture of Yarrow on my allotment, I can assure you this plant grows everywhere and you are as likely to come across it as you are to find docks or dandelions. Often hidden in short grass the plant Yarrow can appear to be horizontal for most of the year only revealing itself by a few well trodden on curls of leaves in parks and pathway grass. However, at this time of year it also starts to grow upwards as it attempts to throw out some flowers and it can get very tall in the right location.
The leaves and flowers of Yarrow are used in salads and yarrow oil is also used in shampoo. Some people chew on yarrow to relieve toothache. In the garden it makes an excellent compost activator. Medicinal uses include easing the symptoms of fever, colds, gastrointestinal issues including IBS symptoms and to induce sweating.
WARNING: Do not consume excessive amounts, may contain thujone, cause drowsiness and increase urination. For some people, it can also cause a skin irritation.
WARNING: Not to be confused with Foxglove and Comfrey.
Foxglove – feel the leaves, are they soft and fur like? If so then you probably found foxglove before it flowered which is poisonous.
Comfrey – Flowers are purple instead of blue. Comfrey is the perrenial version of borage which is annual.
Borage works much like Comfrey in the compost bin as a brilliant plant stimulant for leafy growth. However, it is also considered an edible herb with tasty crisp leaves (if a bit furry). Some report they taste liek cucumber but I am less convinced. The flowers are also edible and as such make a brilliant garnish and addition to salad mixes.
Collected leaves and flowers from the borage plants on my allotment. Many garden shops now sell borage seeds to grow yourself and they excellent plants for attracting bees.
Borage leaves and flowers used to boost the contents and appearance of Elderflower cordial. I found that in this mixture the leaves slowly turn neon pink from the tips inward creating a pleasing and pretty drink garnish.
There are many reasons why you would want to go down the route of planting on straw bales. My reasons are as follows:
I don’t have to bend down to reach the plants. (also very helpful idea for elderly/disabled/bad backs)
I don’t have to do any digging in that area (my plot is full of brambles and tree roots so this is a bit of a relief to cut down on as much digging required as possible)
The plants I am choosing for the straw bales are Squash and Pumpkins. These large heavy fruit will be easily kept away from the ground, supported by the bales, and stay dry and in good condition in whatever weather.
At just £3 per bale of straw, it’s cheaper than compost and as it breaks down natural goodness is still released!
Make sure you get your straw bales put into your chosen position in advance of plating out. You don’t want to plant your seedling directly into the straw bale as soon as you set it on the ground. I recommend a minimum of 15 days with the straw bales “out in the elements” and to make sure you visit them regularly and soak them in water whenever you can.
You do not need to add extra compost and nitrogen fluid but it does help if you can do so. I intend to use chicken manure saturated water on the bales to soak them in extra nutrients before planting.
In addition to this, think about what plants you are going to have near it. I chose a row of Borage right next to the straw bales. I waited for them to get big enough to not be bothered about the shade, this is a big hardy plant that is useful in many ways. In addition, Borage is reported to be a good companion plant for almost anything but in particular squash and strawberries. The straw bales on my plot are destined to have squash and pumpkins on them and in addition I have strawberries filling my fruit bush and raspberry bush area which is right next to the bales. This therefore seems like a match made in heaven!
Why is Borage Useful?
Companion plant for most plants. Strawberries – increases yield and improves flavour
Deters tomato hornworms and cabbage worms
One of the best bee and wasp attracting plant
Adds trace minerals to the soil and improves compost
Increases resistance to pests and disease for any plants next to it
Perrenial – plant once and never worry about it again
Flowers are edible!
To plant the borage, I dug a long trench alongside the straw bales, and then placed the borage evenly along it.
On Day 3 of going over the allotment to prepare it for cultivation, we made a small handy pop bottle structure for planting along the fence by the pathway. This is known by many as vertical growing.
We didn’t plant anything at this time – it was totally out of season, but now I have a bunch of Spinach seedlings with no home and I decided this would be a great spot for them.
It’s important to note that I do not know if spinach really will be okay in these bottles. It’s shallow, its warm and it’s dense. However, I gave a handful of seedlings to my partner Alan for his standard allotment so I know either way I will still have Spinach on the table.
I added a handful of fresh compost to each of the bottles and planted a spinach seedling in each one. Then I watered it heavily and stood back to admire my handiwork. I will keep you updated how well this goes.. Just check out our sustainable life facebook page for allotment updates.