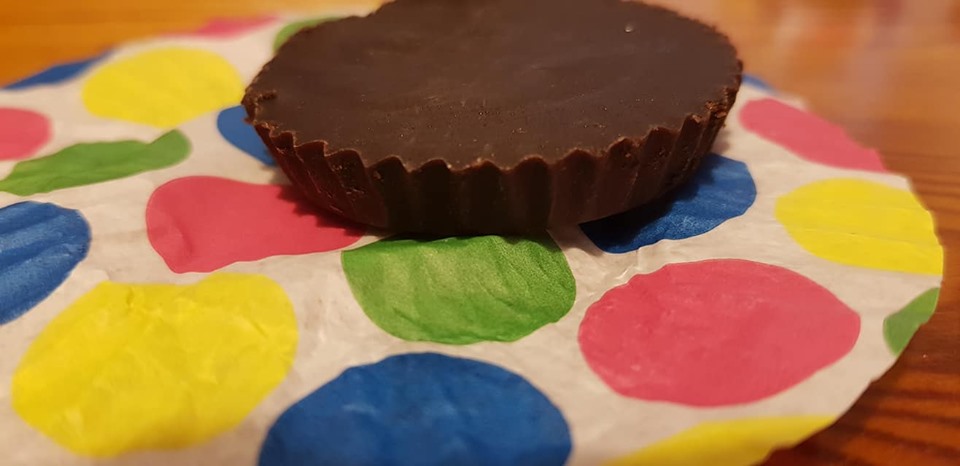
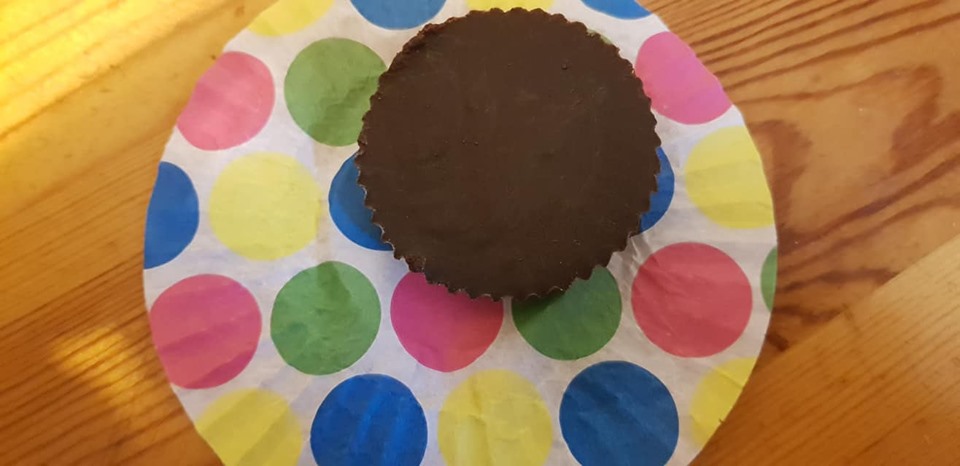
These are not home grown or foraged! It is however, a brilliant recipe for saving money, brilliant for vegans, brilliant for those with allergies, brilliant for those with intolerances and can be made with organic ingredients.
It is an amazing THREE INGREDIENT ONLY chocolate recipe you can make at home. I find these so useful for my family, I just had to take a moment to share it. I hope you enjoy it as much as I do 🙂
Now as many of you will already know, I’m not vegan. That doesn’t mean I can’t appreciate vegan things and I also do try to introduce more vegetarian and vegan alternatives into my diet than I am normally used to. It’s a work in progress!
My problem is the various allergies and intolerances in my family.
My partner is likely mildly lactose intolerant.
My son is definately lactose intolerant
I am milk intolerant, soya intolerant and potato intolerant
My daughter has a milk allergy and a soya allergy and is potato intolerant.
What a lovely box of genes we have going on! All this create multiple issues in the kitchen. My partner and I can get away with chocolate, him more so than I. My son can have tiny bits. My daughter can have none at all. Even the free form range in our local shop is crammed with soya instead. (even bread has soy in it now by the way, its ridiculous).
I am continously amazed how a dairy free item can have soya in it considering the two are so closely linked together and often allergies to these two go hand in hand.
I therefore had no choice. My daughter deserves to have a treat sometimes and when a family member sits there eating chcoolate in front of her it’s just cruel to not give her the same opportunity.
Hence – this recipe.
Ingredients
- 1 cup cocoa butter
- 1/2 cup raw cocoa powder
- 1 tbsp golden syrup/agave/maple (according to preference)
You can add a pinch of salt and a dash of vanilla if you fancy but it doesn’t really need it in my opinion so this is the core essential list you need to work with.
Method
- Grate the cocoa butter so it’s easy to measure and melt.
- Place all the ingredients in a metal or glass bowl suspended over a pan of boiling water. (bain marie)
- Gently and slowly melt them and stir together. Do not rush – this will burn the chocolate!
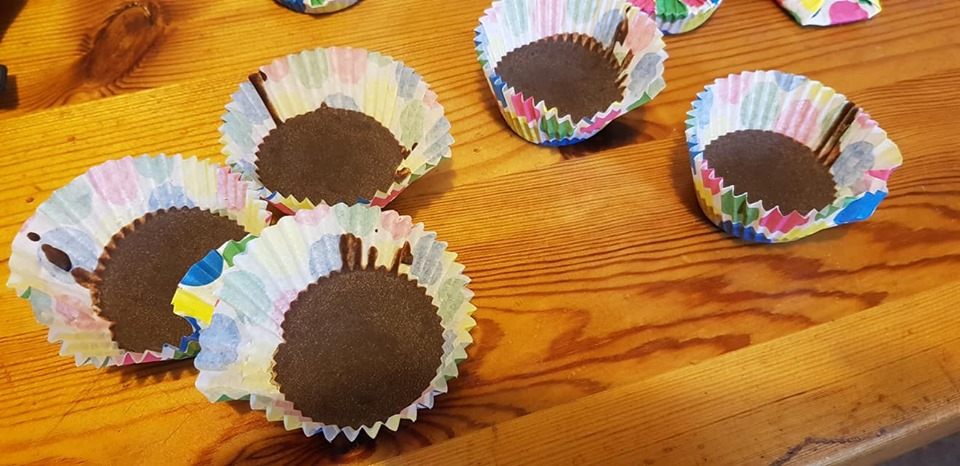
- Pour into muffin cases or into chocolate silicone moulds if you have them.
- Pop in the fridge until set – viola!
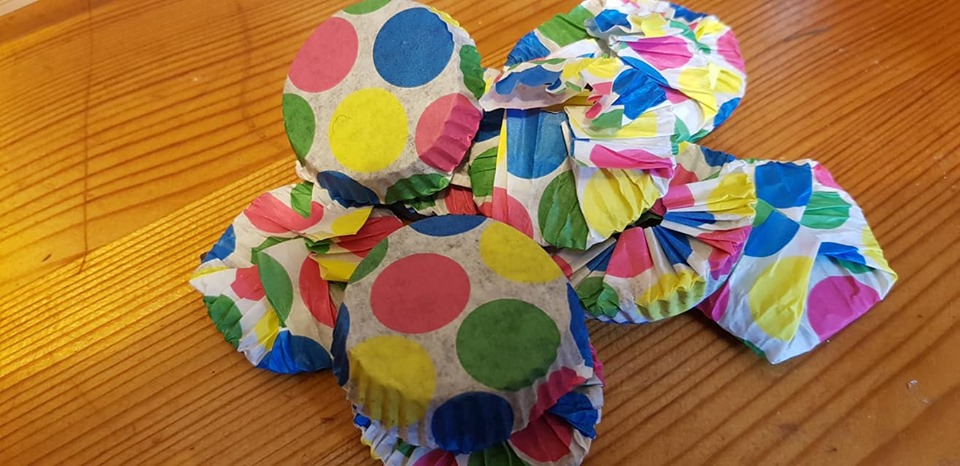
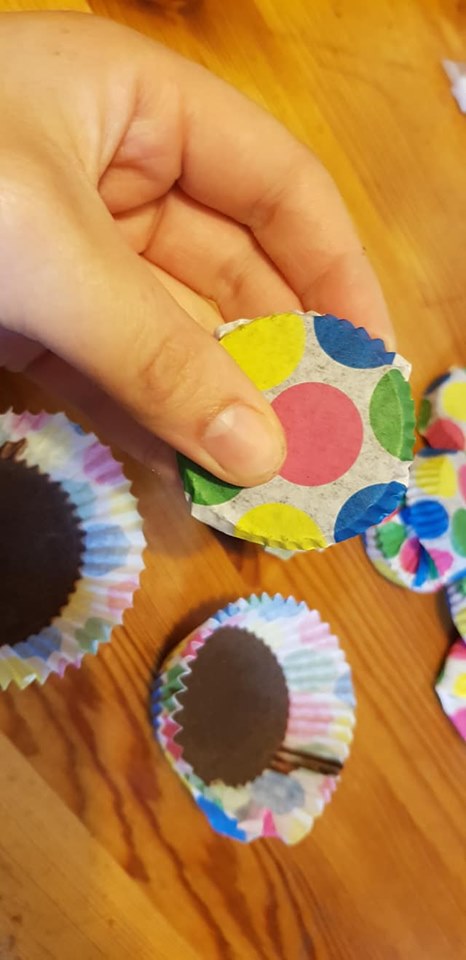
I like to put them into muffin cases and then fold the muffin cases over when they are set creating little individual wrappers. This makes them perfect for lunch boxes, on the go treats and general storage. It also portions it out rather nicely so I can avoid over doing it when dishing out the treats. But that’s just me 🙂
Again it’s not really free food, but it is MILES cheaper than buying the dairy free options on mail order because your local shop doesn’t do them.

